OpenVPN 服务器自建和使用

OpenVPN 这个技术是很老的技术,常用于企业或者学校比较多。之前买了 VPS 后想过用这个来科学上网,但是服务器端搭建安装还是挺麻烦的,最近看到 openvpn-install 项目可以一键安装,就试试看喽。对比 tailscale 下载速率相差不大,上传速率没有其优秀。
安装 OpenVPN 服务器
用仓库的三步走即可启动安装【VPS 需要在海外,你懂得】。
root@warm-bump-2:~# curl -O https://raw.githubusercontent.com/angristan/openvpn-install/master/openvpn-install.sh
  % Total    % Received % Xferd  Average Speed   Time    Time     Time  Current
                                 Dload  Upload   Total   Spent    Left  Speed
100 40923  100 40923    0     0  92004      0 --:--:-- --:--:-- --:--:-- 92168
root@warm-bump-2:~# ls
openvpn-install.sh  virt-sysprep-firstboot.log
root@warm-bump-2:~# chmod +x openvpn-install.sh
root@warm-bump-2:~# ./openvpn-install.sh
Welcome to the OpenVPN installer!
...
一路下一步使用默认配置即可。
root@warm-bump-2:~# ./openvpn-install.sh
Welcome to the OpenVPN installer!
The git repository is available at: https://github.com/angristan/openvpn-install

I need to ask you a few questions before starting the setup.
You can leave the default options and just press enter if you are ok with them.

I need to know the IPv4 address of the network interface you want OpenVPN listening to.
Unless your server is behind NAT, it should be your public IPv4 address.
IP address: 28.xxx.xxx.xxx

Checking for IPv6 connectivity...

Your host does not appear to have IPv6 connectivity.

Do you want to enable IPv6 support (NAT)? [y/n]: n

What port do you want OpenVPN to listen to?
   1) Default: 1194
   2) Custom
   3) Random [49152-65535]
Port choice [1-3]: 1

What protocol do you want OpenVPN to use?
UDP is faster. Unless it is not available, you shouldn't use TCP.
   1) UDP
   2) TCP
Protocol [1-2]: 1

What DNS resolvers do you want to use with the VPN?
   1) Current system resolvers (from /etc/resolv.conf)
   2) Self-hosted DNS Resolver (Unbound)
   3) Cloudflare (Anycast: worldwide)
   4) Quad9 (Anycast: worldwide)
   5) Quad9 uncensored (Anycast: worldwide)
   6) FDN (France)
   7) DNS.WATCH (Germany)
   8) OpenDNS (Anycast: worldwide)
   9) Google (Anycast: worldwide)
   10) Yandex Basic (Russia)
   11) AdGuard DNS (Anycast: worldwide)
   12) NextDNS (Anycast: worldwide)
   13) Custom
DNS [1-12]: 11

Do you want to use compression? It is not recommended since the VORACLE attack makes use of it.
Enable compression? [y/n]: n

Do you want to customize encryption settings?
Unless you know what you're doing, you should stick with the default parameters provided by the script.
Note that whatever you choose, all the choices presented in the script are safe. (Unlike OpenVPN's defaults)
See https://github.com/angristan/openvpn-install#security-and-encryption to learn more.

Customize encryption settings? [y/n]: n

Okay, that was all I needed. We are ready to setup your OpenVPN server now.
You will be able to generate a client at the end of the installation.
Press any key to continue...
Hit:1 http://archive.ubuntu.com/ubuntu jammy InRelease
...
等待安装结束,输入文件名并回车即可。
...
Created symlink /etc/systemd/system/multi-user.target.wants/iptables-openvpn.service → /etc/systemd/system/iptables-openvpn.service.

Tell me a name for the client.
The name must consist of alphanumeric character. It may also include an underscore or a dash.
Client name: mintisan

Do you want to protect the configuration file with a password?
(e.g. encrypt the private key with a password)
   1) Add a passwordless client
   2) Use a password for the client
Select an option [1-2]: 1

* Using SSL: openssl OpenSSL 3.0.2 15 Mar 2022 (Library: OpenSSL 3.0.2 15 Mar 2022)

* Using Easy-RSA configuration: /etc/openvpn/easy-rsa/vars

* The preferred location for 'vars' is within the PKI folder.
  To silence this message move your 'vars' file to your PKI
  or declare your 'vars' file with option: --vars=<FILE>
-----

Notice
------
Keypair and certificate request completed. Your files are:
req: /etc/openvpn/easy-rsa/pki/reqs/mintisan.req
key: /etc/openvpn/easy-rsa/pki/private/mintisan.key
Using configuration from /etc/openvpn/easy-rsa/pki/eb0610d5/temp.a1d0189c
Check that the request matches the signature
Signature ok
The Subject's Distinguished Name is as follows
commonName            :ASN.1 12:'mintisan'
Certificate is to be certified until Jul 26 09:57:14 2034 GMT (3650 days)

Write out database with 1 new entries
Data Base Updated

Notice
------
Certificate created at:
* /etc/openvpn/easy-rsa/pki/issued/mintisan.crt

Notice
------
Inline file created:
* /etc/openvpn/easy-rsa/pki/inline/mintisan.inline
Client mintisan added.

The configuration file has been written to /root/mintisan.ovpn.
Download the .ovpn file and import it in your OpenVPN client.
root@warm-bump-2:~# ls
mintisan.ovpn  openvpn-install.sh  virt-sysprep-firstboot.log
root@warm-bump-2:~#
下载生成 ovpn 配置文件到本地
scp -P [端口号] [用户名]@[远程主机地址]:[远程文件路径] .
附加几个常用命令:
# 查看状态
sudo systemctl status openvpn-server@server.service
# 重启服务
sudo systemctl restart openvpn-server@server.service
# 停止服务
sudo systemctl stop openvpn-server@server.service
# 启动服务
sudo systemctl start openvpn-server@server.service
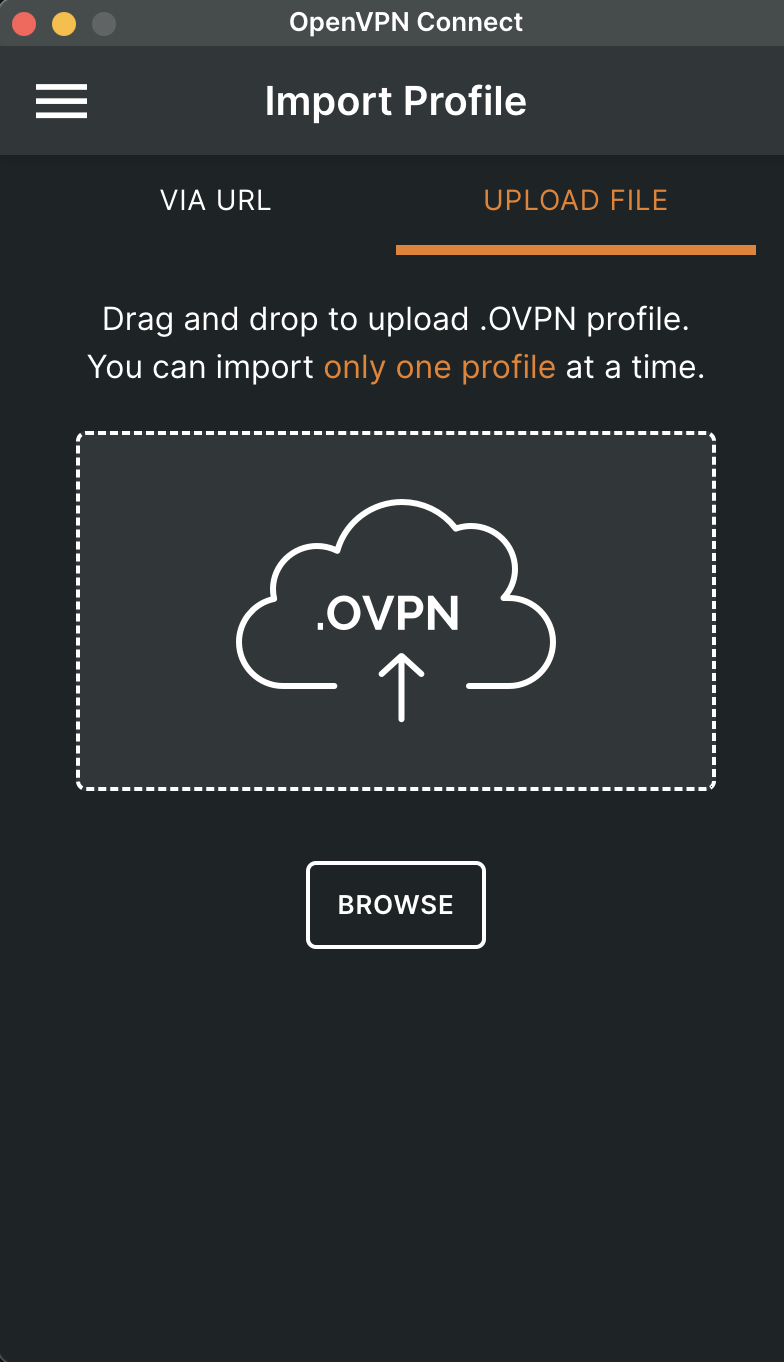
下载并配置客户端
直接从 OpenVPN 官网 下载对应的客户端,并导入即可。
tailscale 速度对比
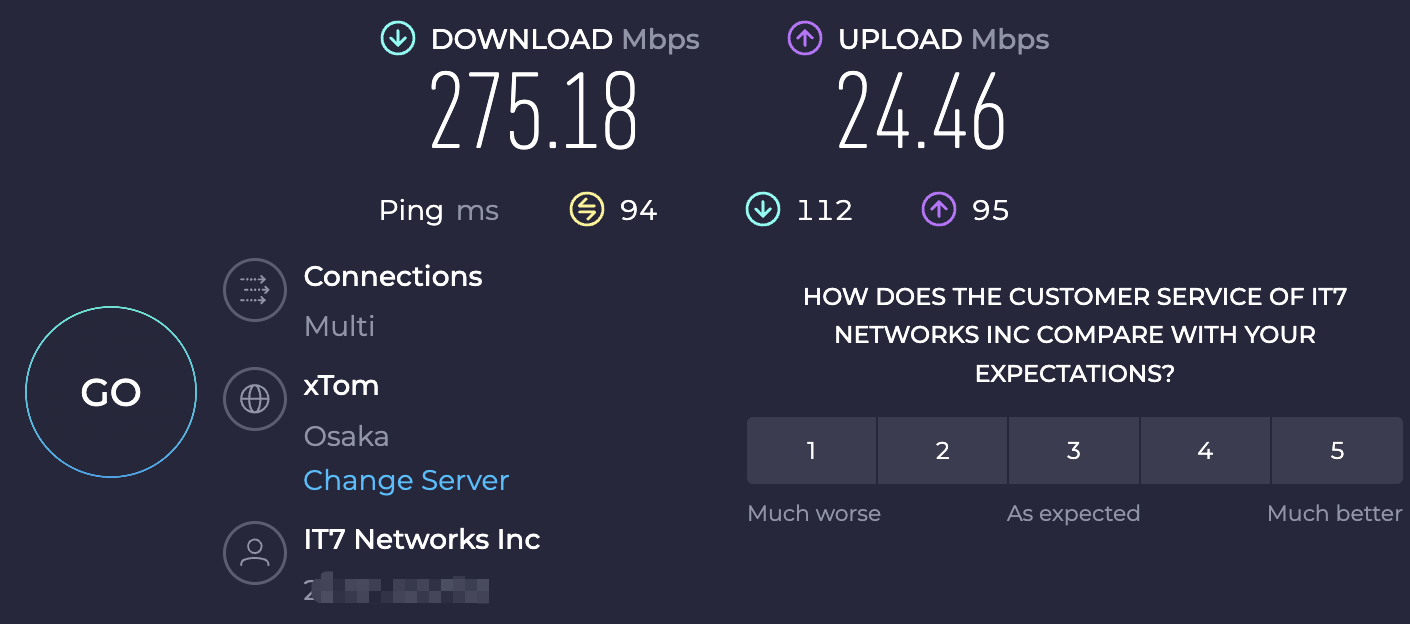
采用同一个节点,对比先后对比测试,可以看到如果是同一个 IP 地址,以及供应商,两者的下载速率相差不大,上传速率 tailscale 优秀不少。
OpenVPN 速度如下:
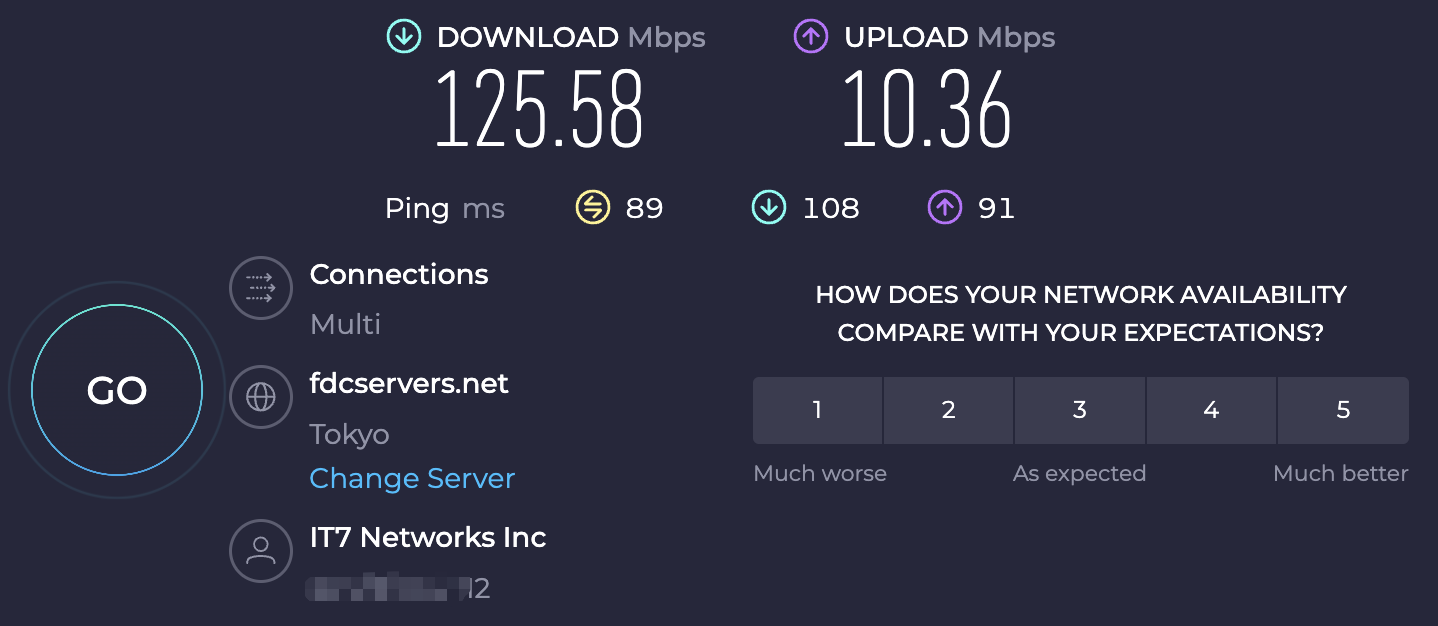
Tailscale 速率如下:

但是如果更换供应商,则速率有不少差异。