基于 PlatformIO 的 ESP32 开发环境

ESP32 的开发环境有很多,有官方的 Eclipse Plugin 和 VSCode Extension ,但是后续还需要其他依赖啥的,比较麻烦。而 PlatformIO IDE 支持很多的开发板,当然也包括我们的 ESP32 ,唯一的缺点应该是需要能上外网,而这对我来说正好不是问题。这里在 Windows 环境下记录下这个过程,以及一些例程的资源记录。

安装驱动
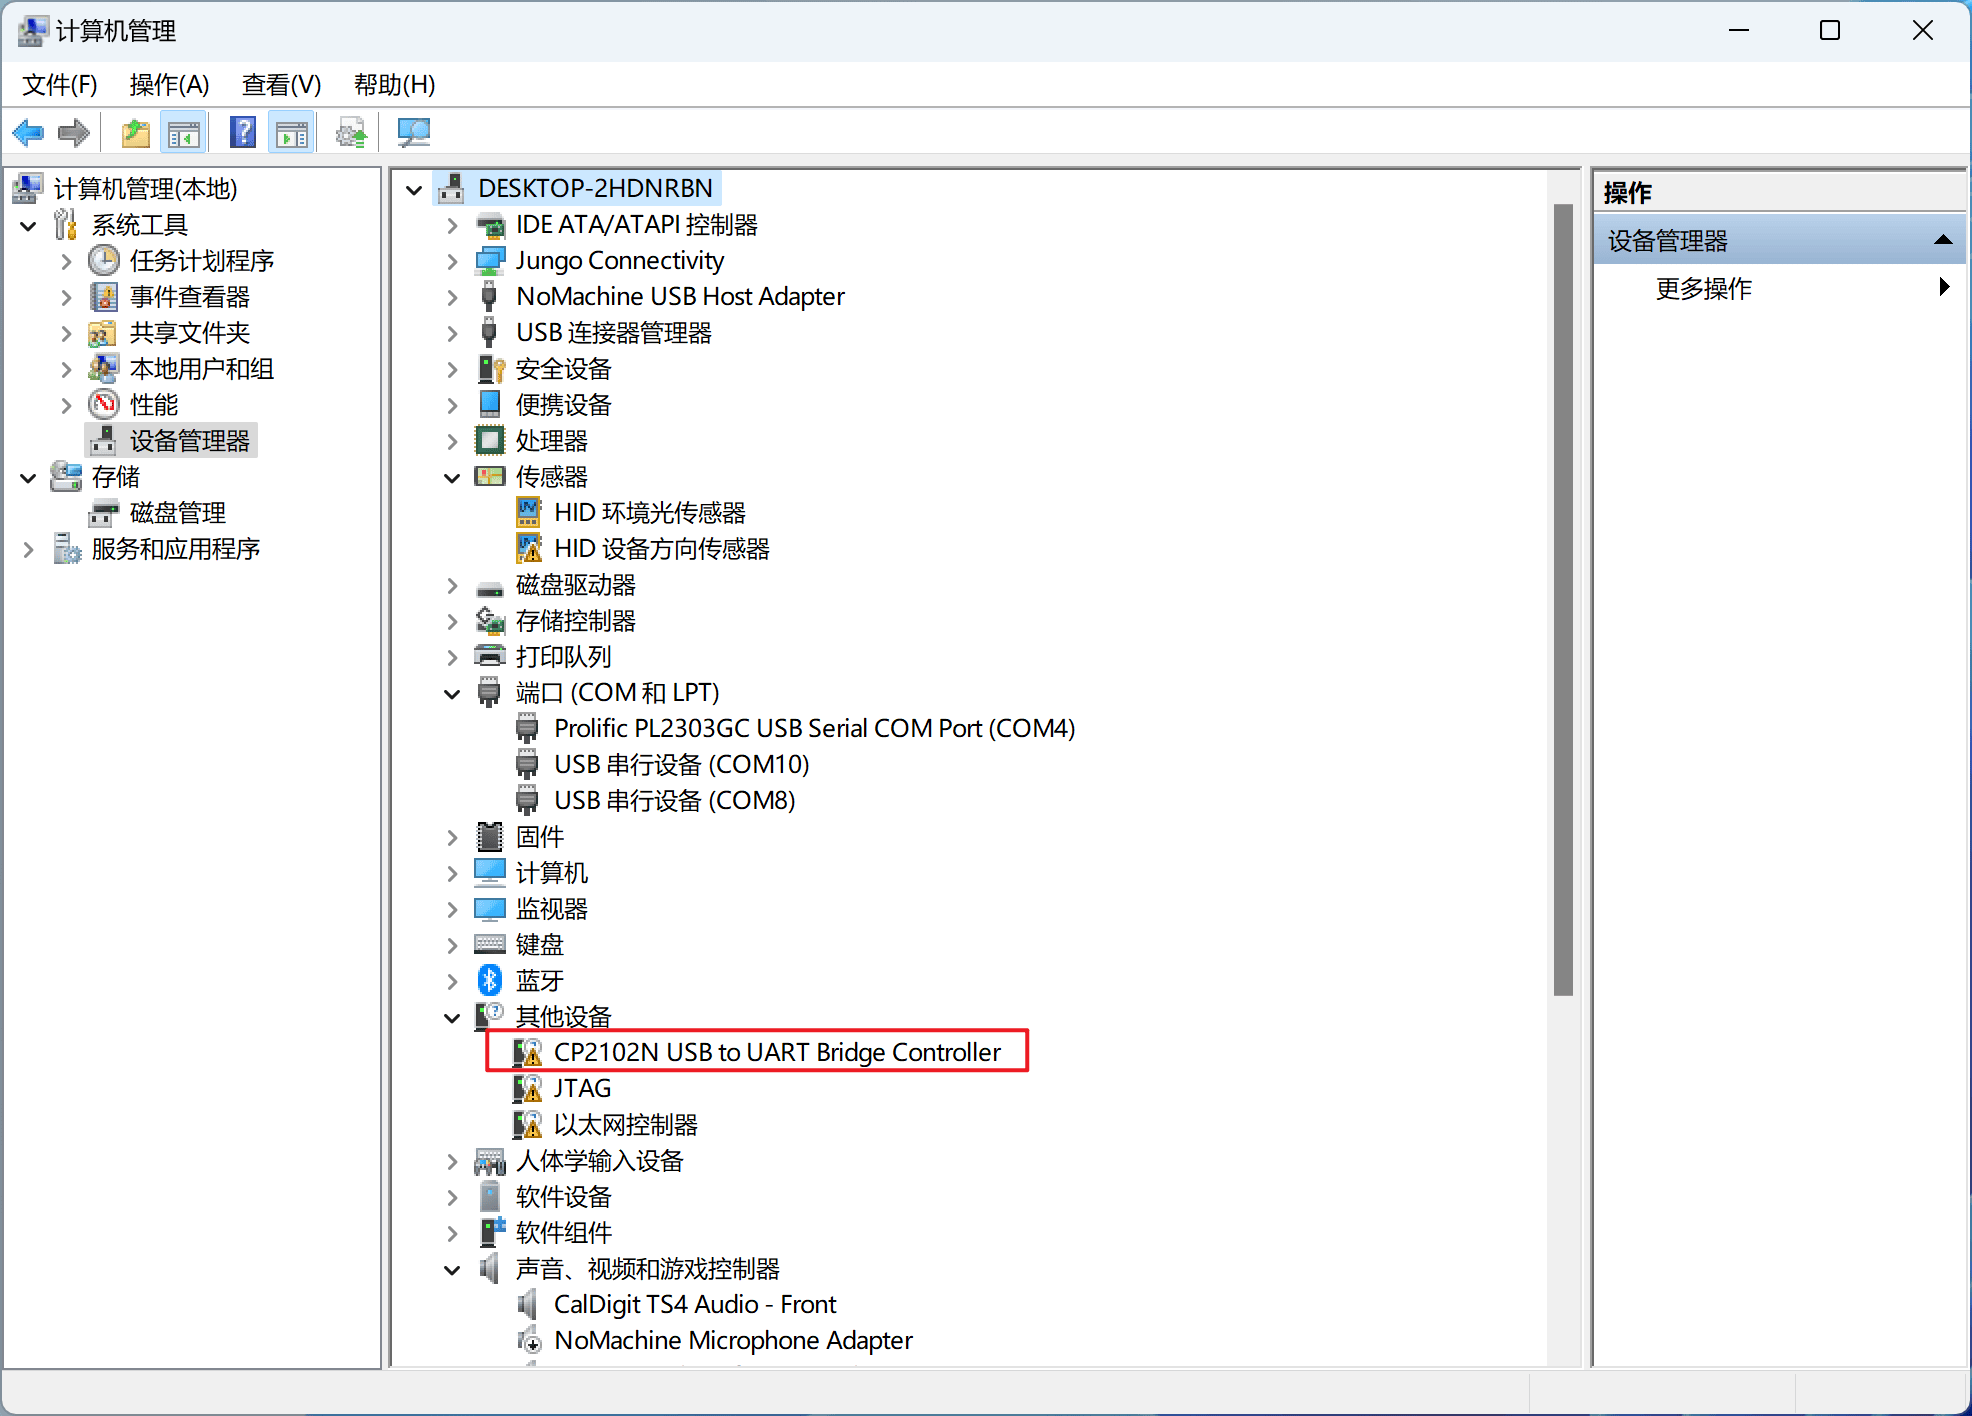
将 ESP32 开发板连接 Micro-B USB 接口连接到电脑,可以看到电脑上默认是没有安装串口转 USB 的驱动的,打开设备管理器显示如下:
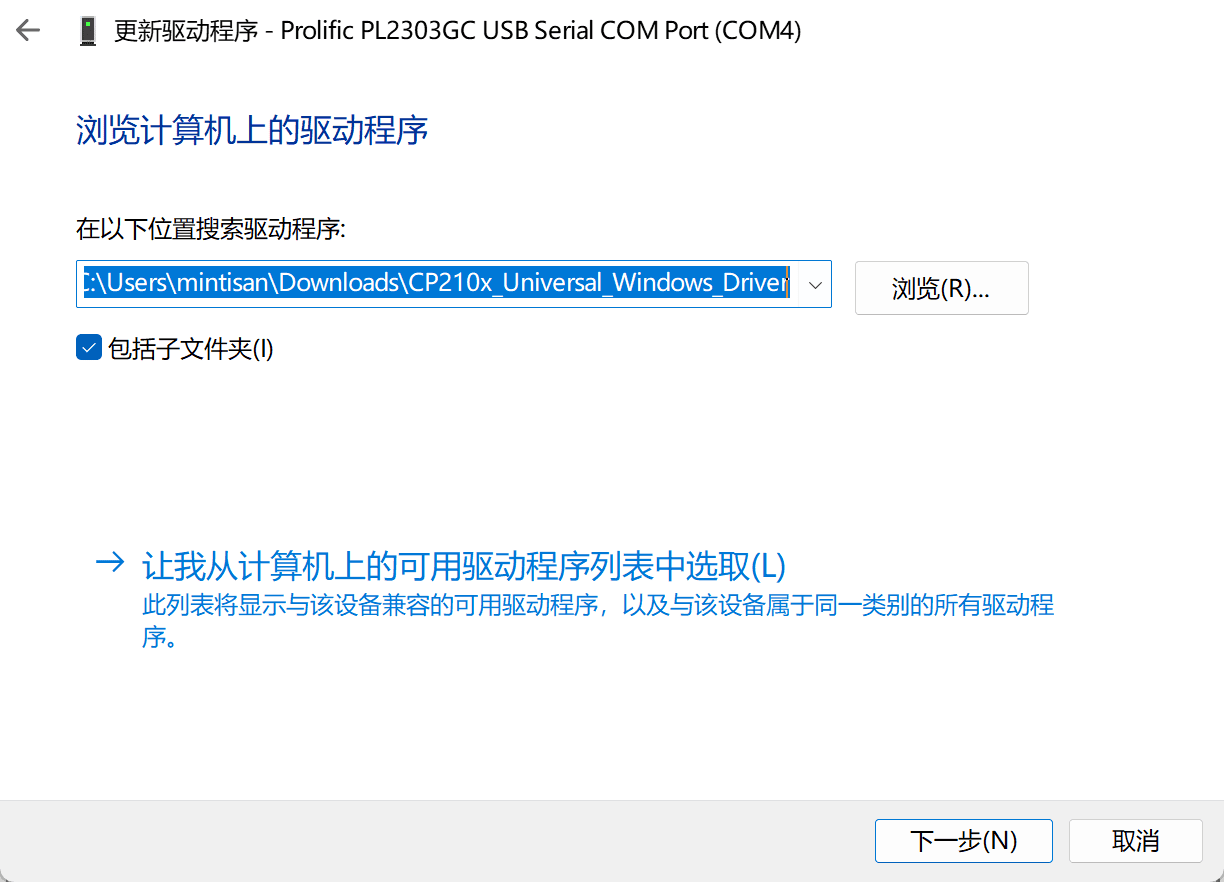
在 Silabs 官网下载后解压,再手动右键安装驱动选择解压后的目录:
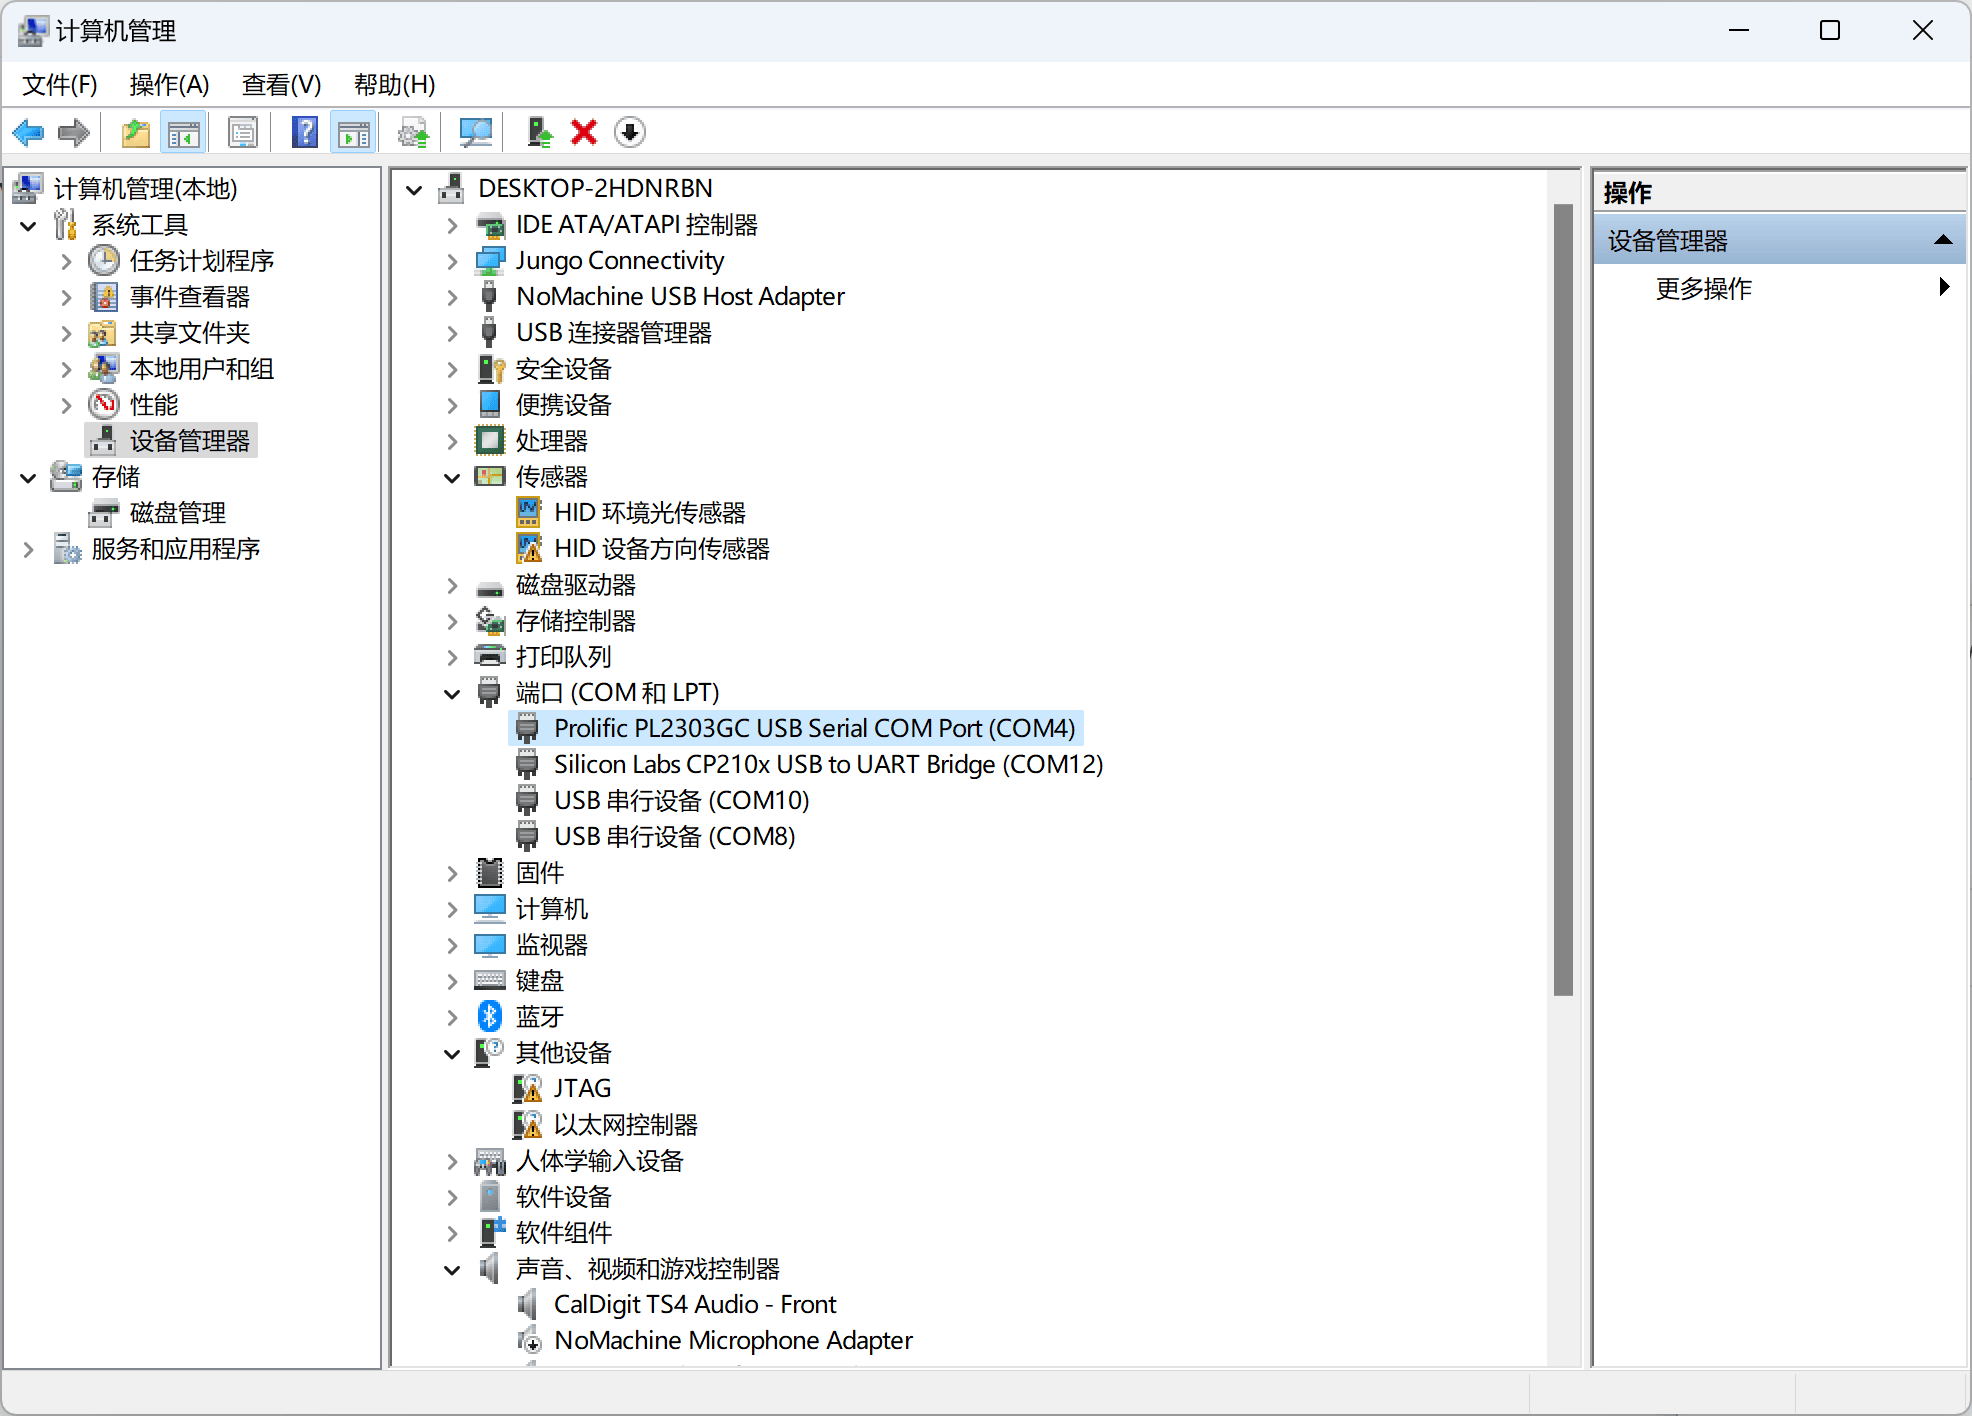
待安装结束可以看到驱动显示正常如下:
安装 VS Code 和插件
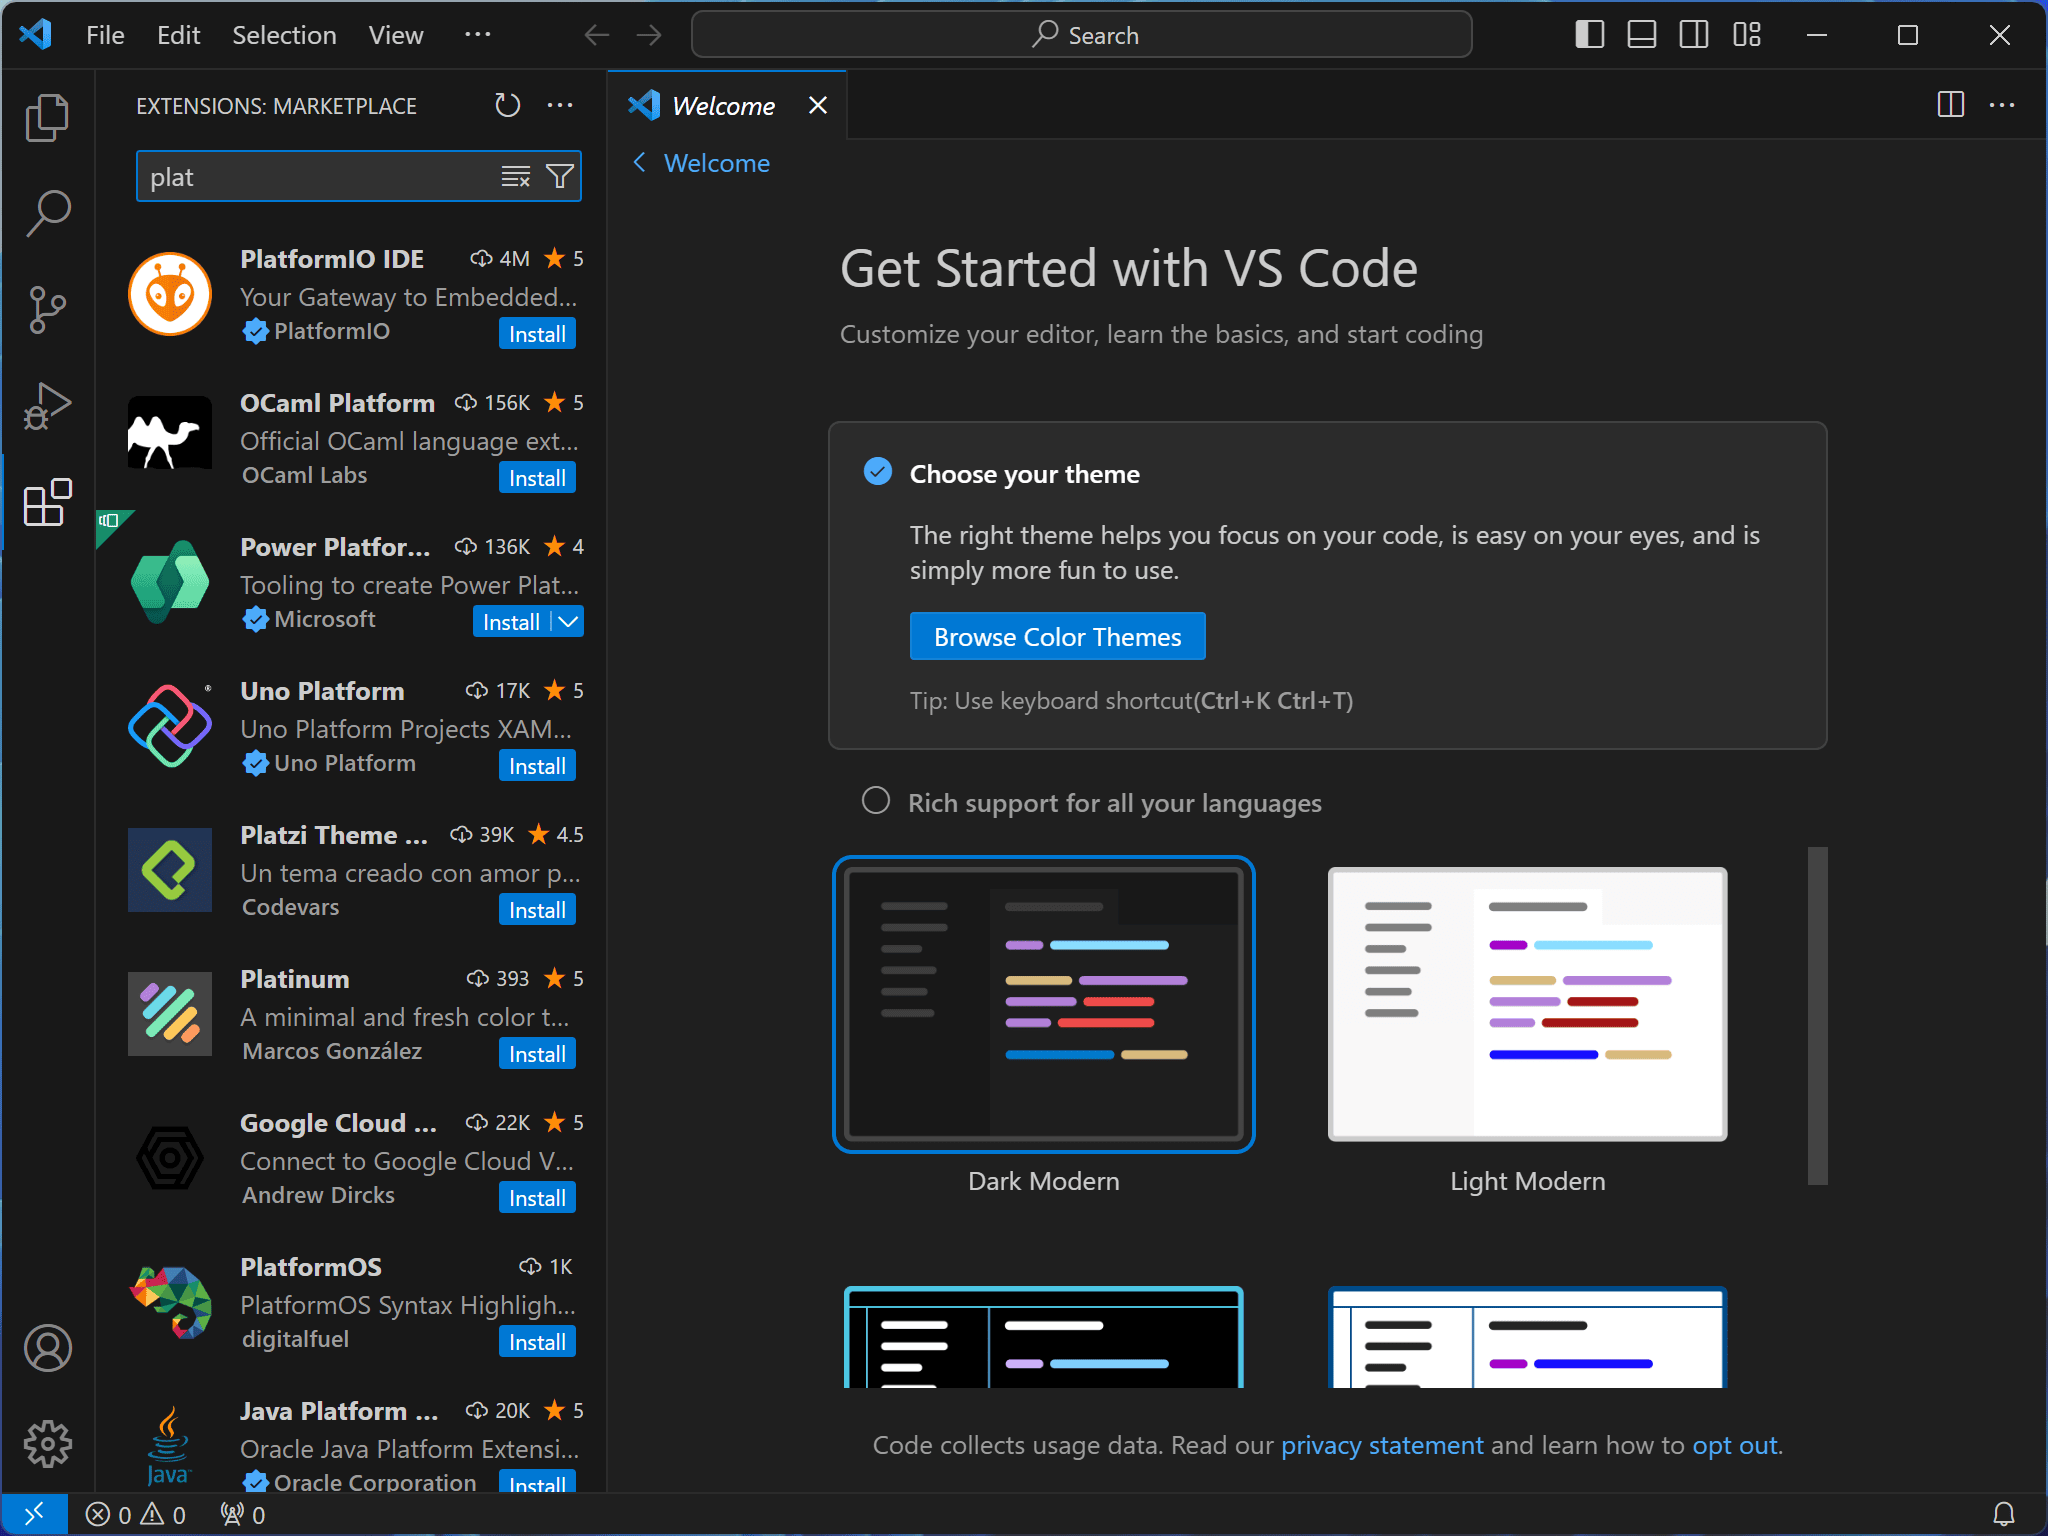
在 VS Code 的官网下载安装后,在插件里面安装 PlatformIO 插件:
安装完后会提示自动重启 VS Code,然后可以看到左侧出现 PIatformIO 的图标,点开选择 Open 新建一个工程【我这里选择Pico+Arduino】:
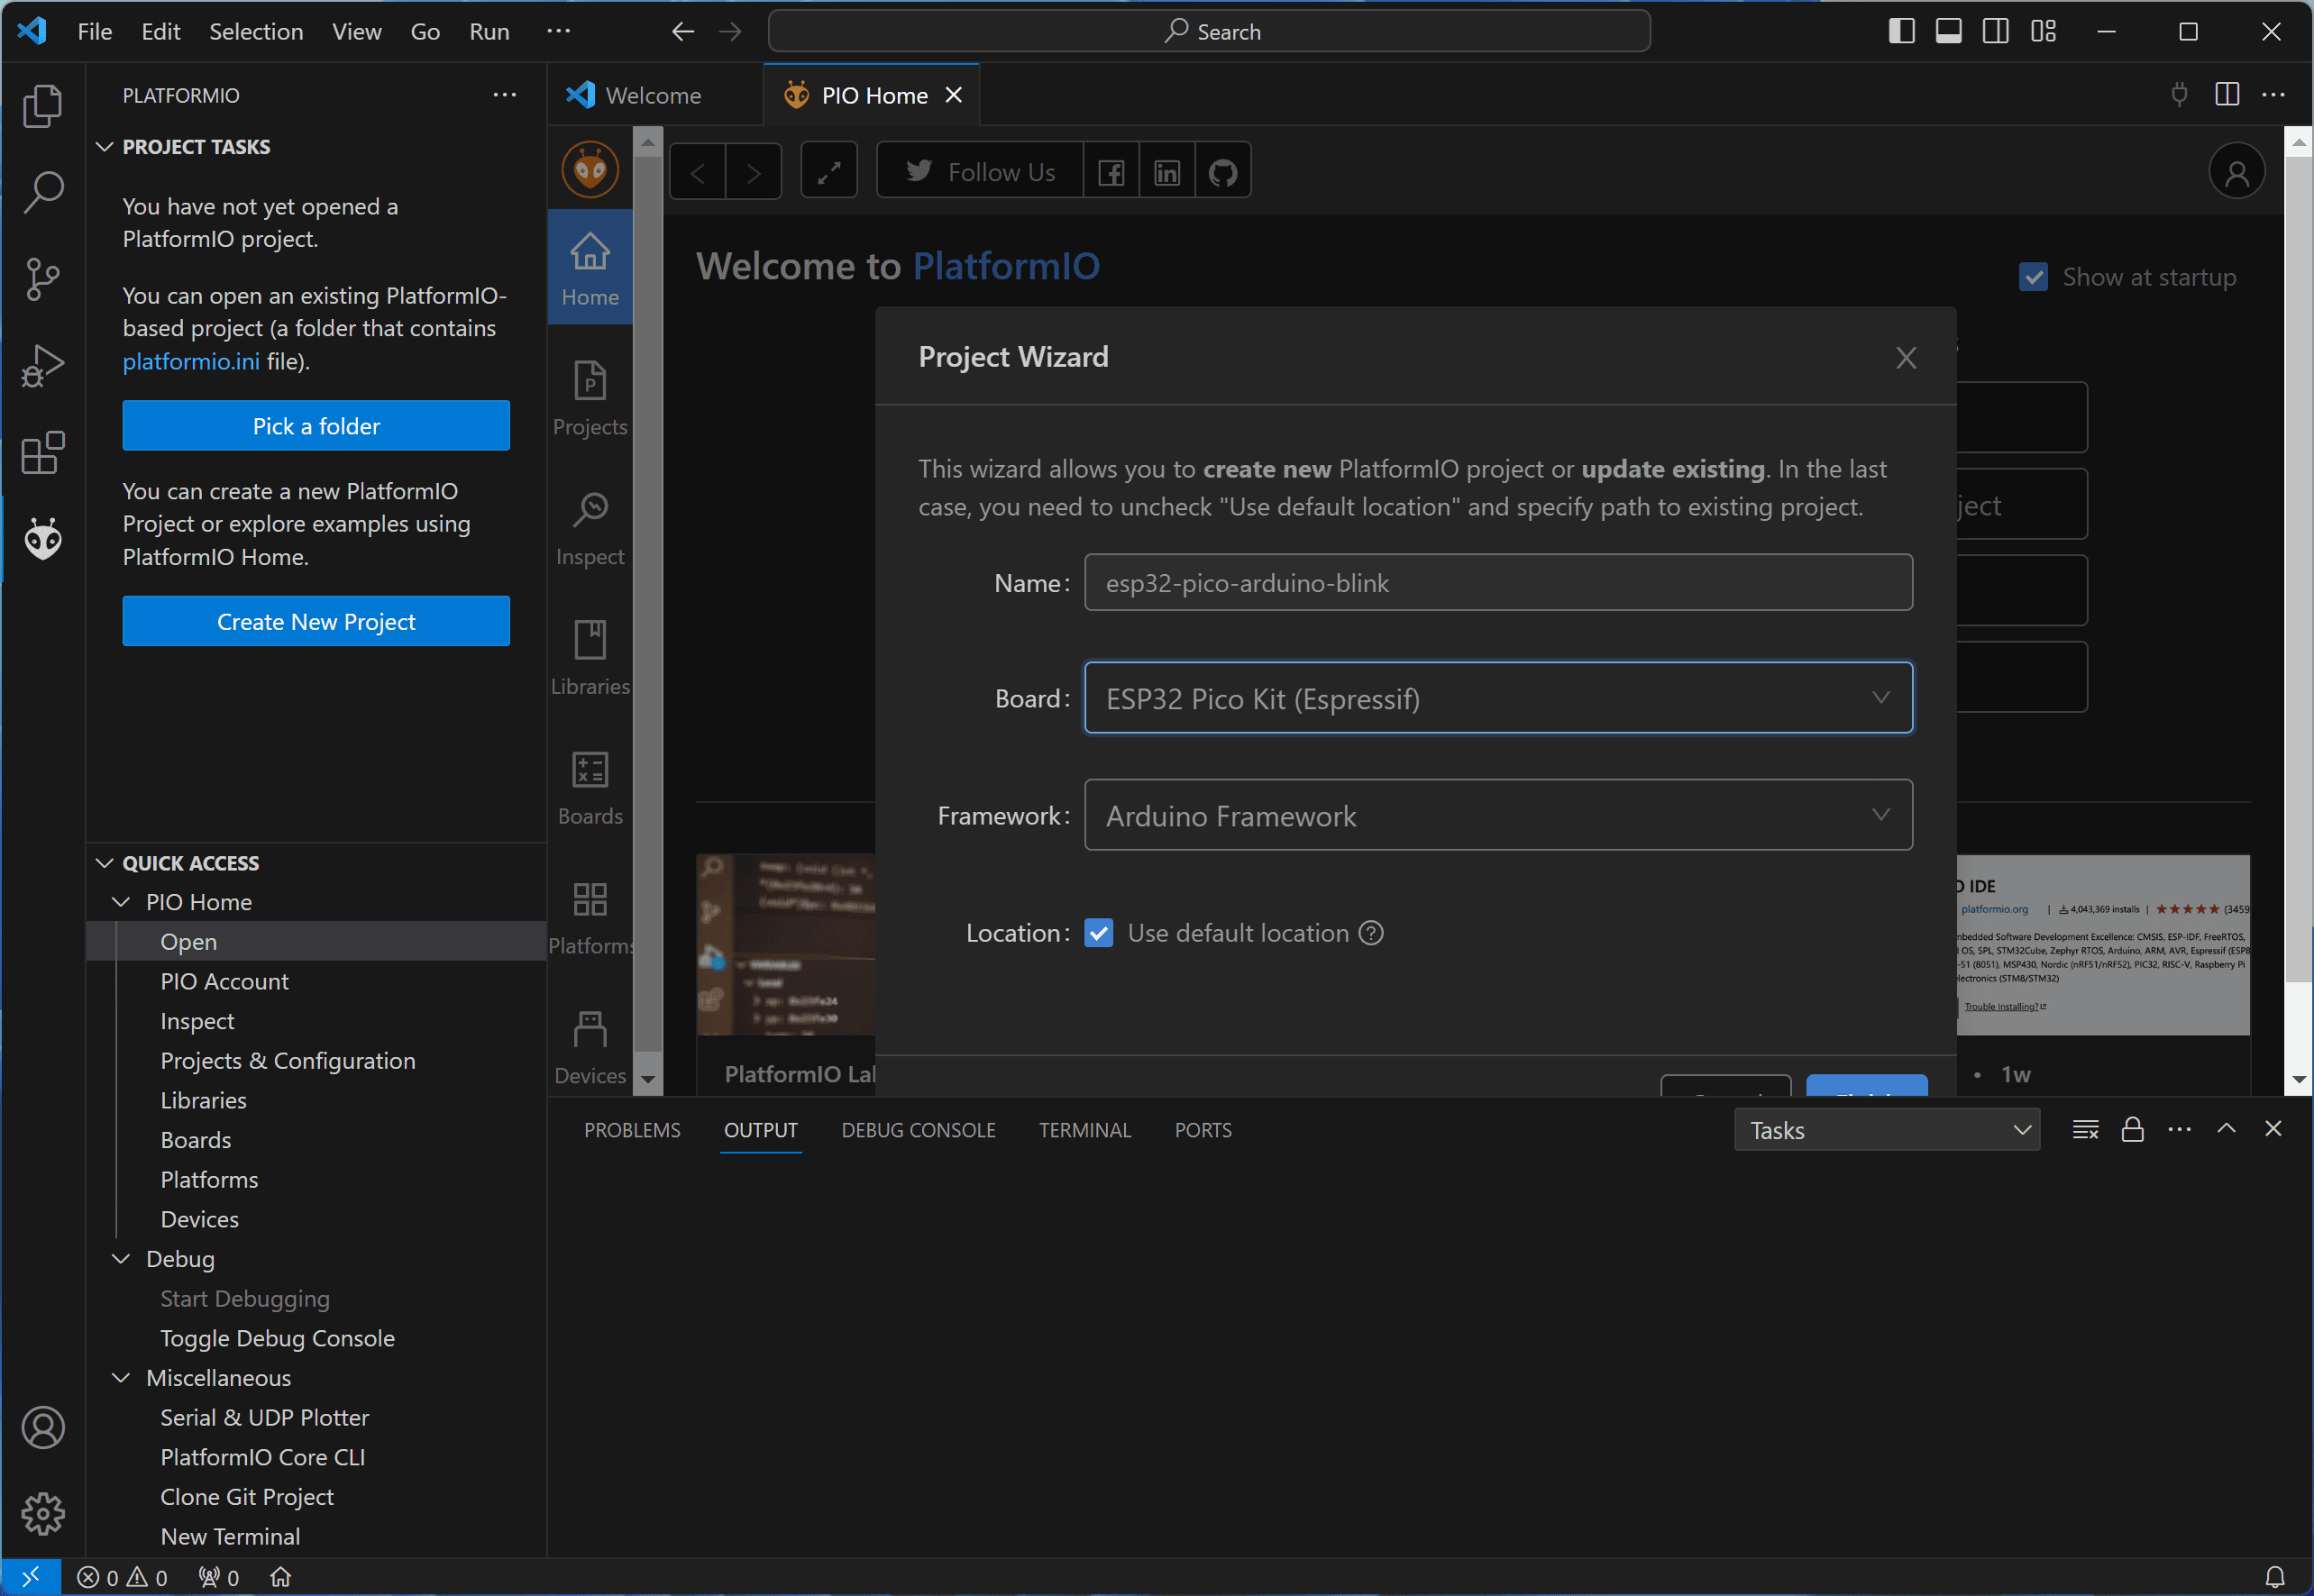
点击确认后会自动下载那些依赖,完后会在工程中出现刚才新建的工程文件夹。
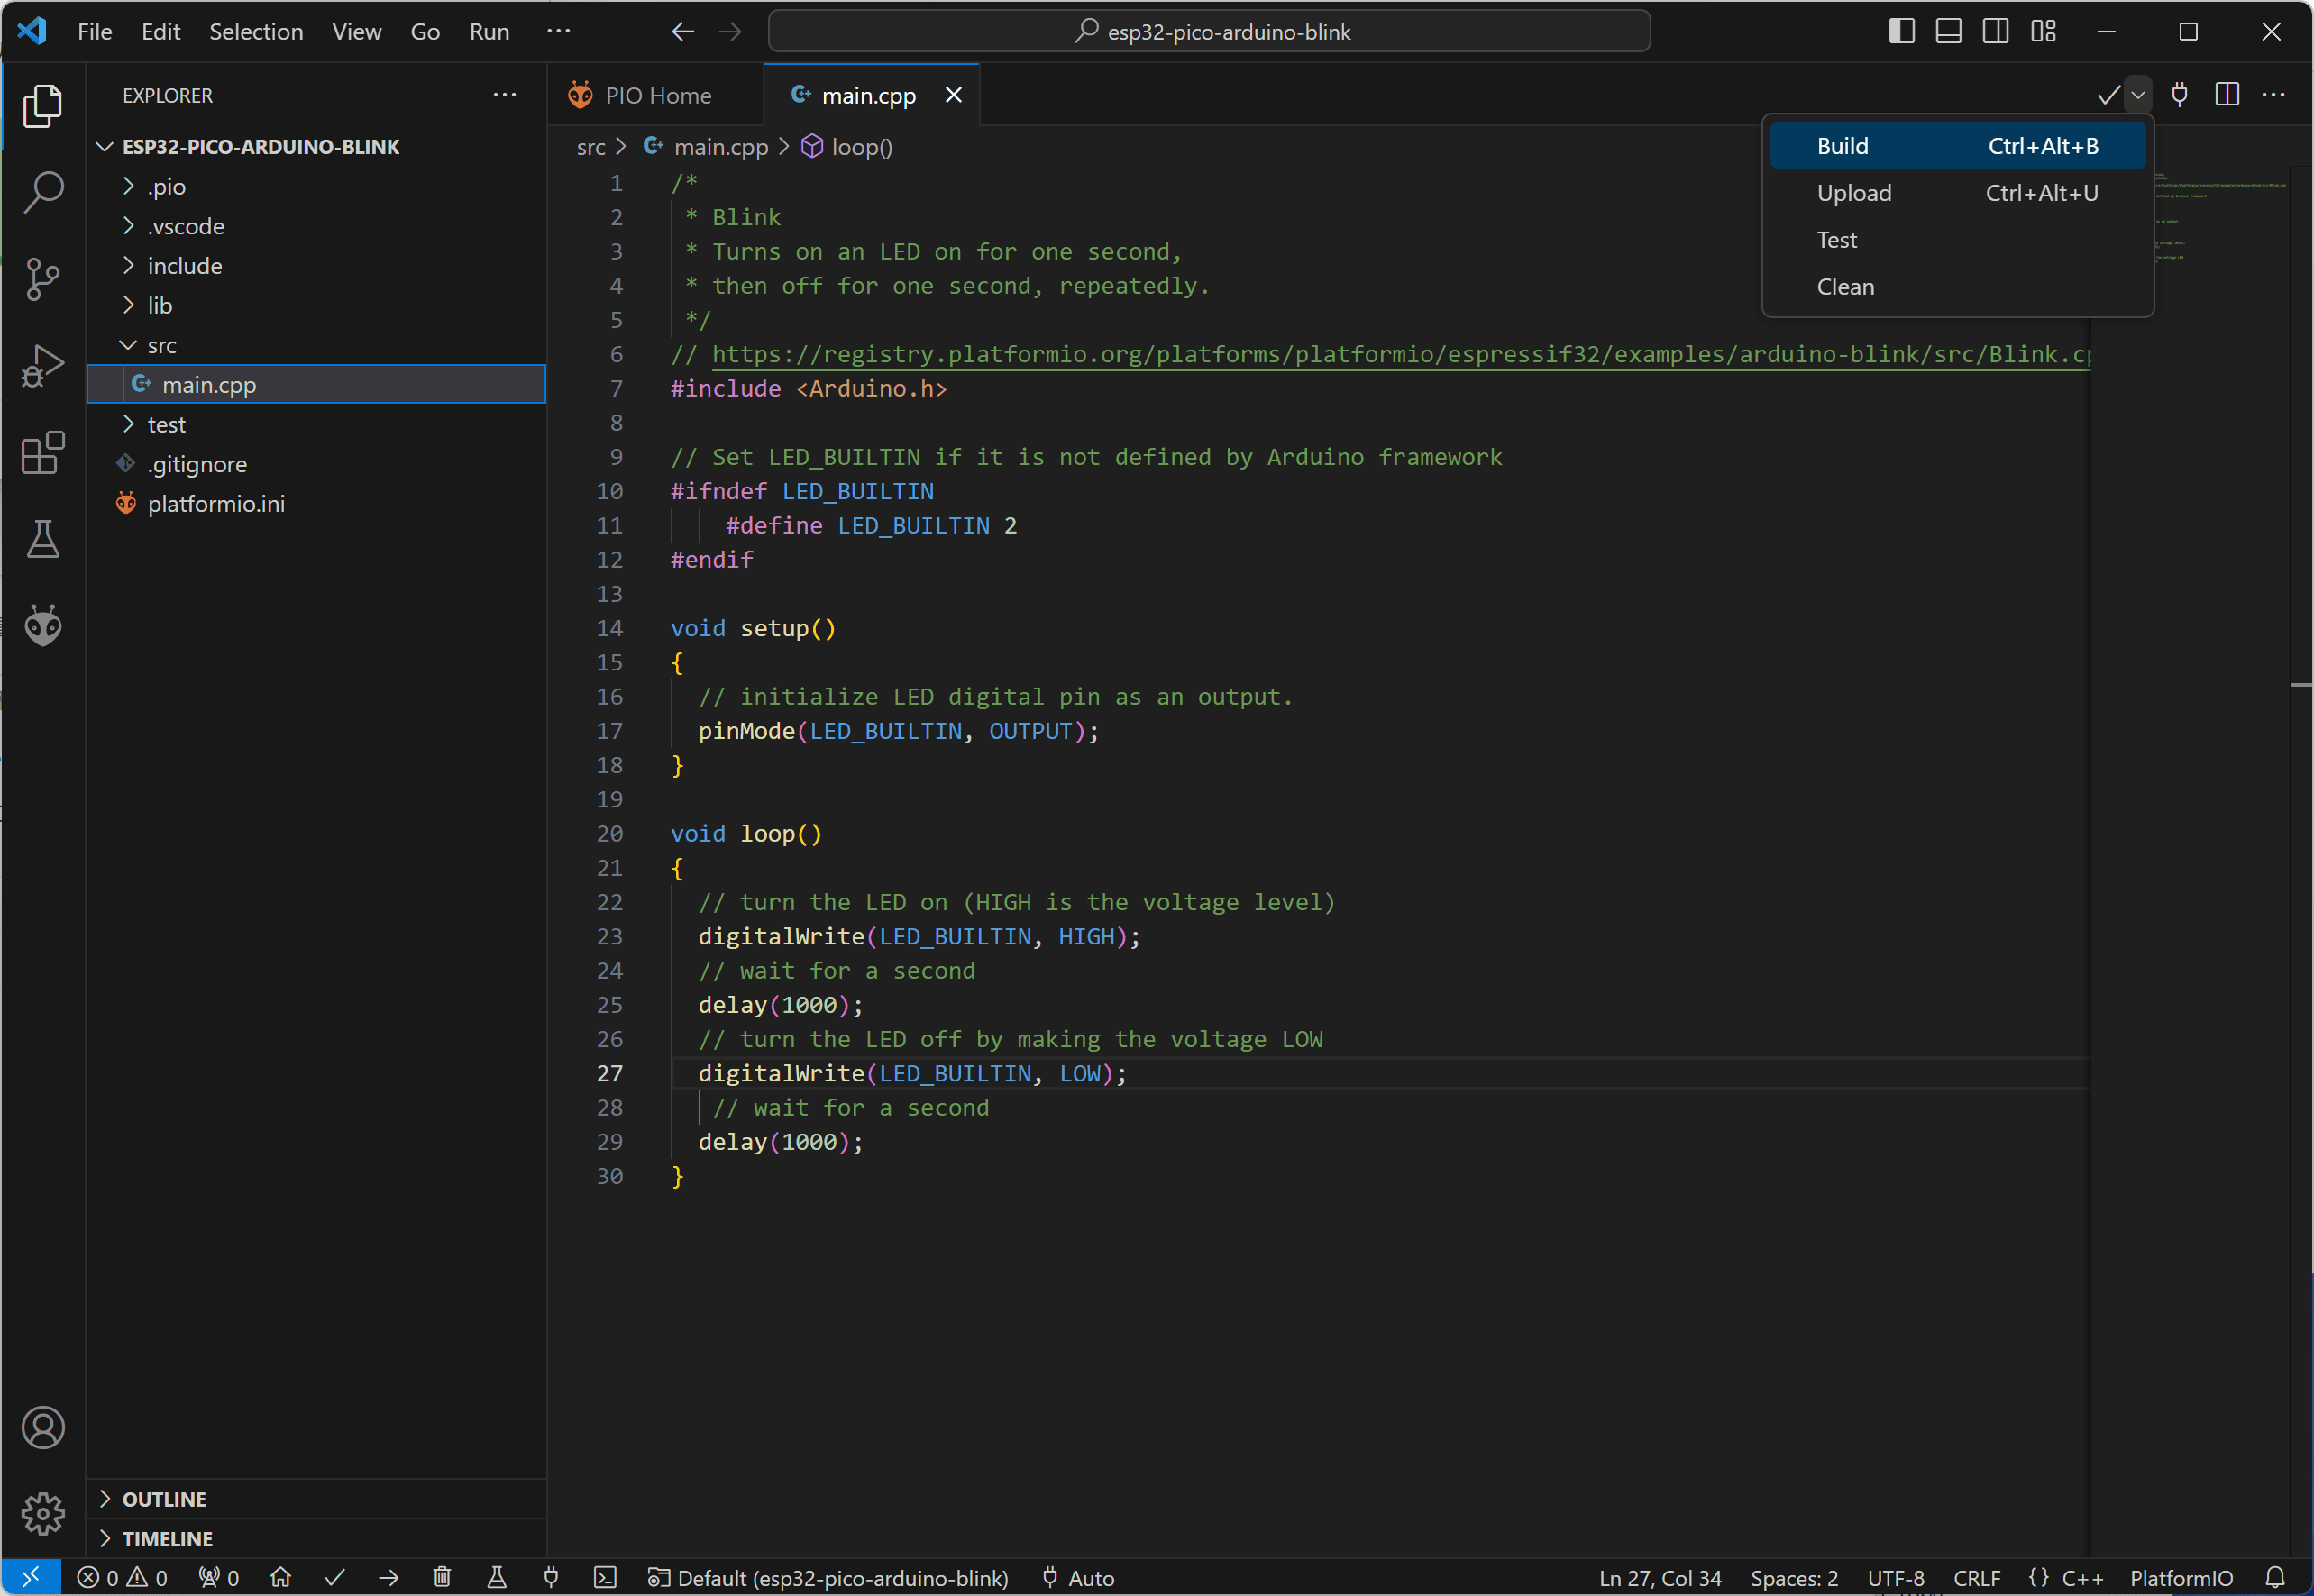
打开官方的跑马灯例程,将其复制拷贝到工程中的 main.cpp 文件中,显示如下:

代码如下:
/*
 * Blink
 * Turns on an LED on for one second,
 * then off for one second, repeatedly.
 */
// https://registry.platformio.org/platforms/platformio/espressif32/examples/arduino-blink/src/Blink.cpp
#include <Arduino.h>

// Set LED_BUILTIN if it is not defined by Arduino framework
#ifndef LED_BUILTIN
    #define LED_BUILTIN 2
#endif

void setup()
{
  // initialize LED digital pin as an output.
  pinMode(LED_BUILTIN, OUTPUT);
}

void loop()
{
  // turn the LED on (HIGH is the voltage level)
  digitalWrite(LED_BUILTIN, HIGH);
  // wait for a second
  delay(1000);
  // turn the LED off by making the voltage LOW
  digitalWrite(LED_BUILTIN, LOW);
   // wait for a second
  delay(1000);
}
编译-设置-下载跑马灯例程
点击右上角的箭头展开,可以选择编译或者下载:
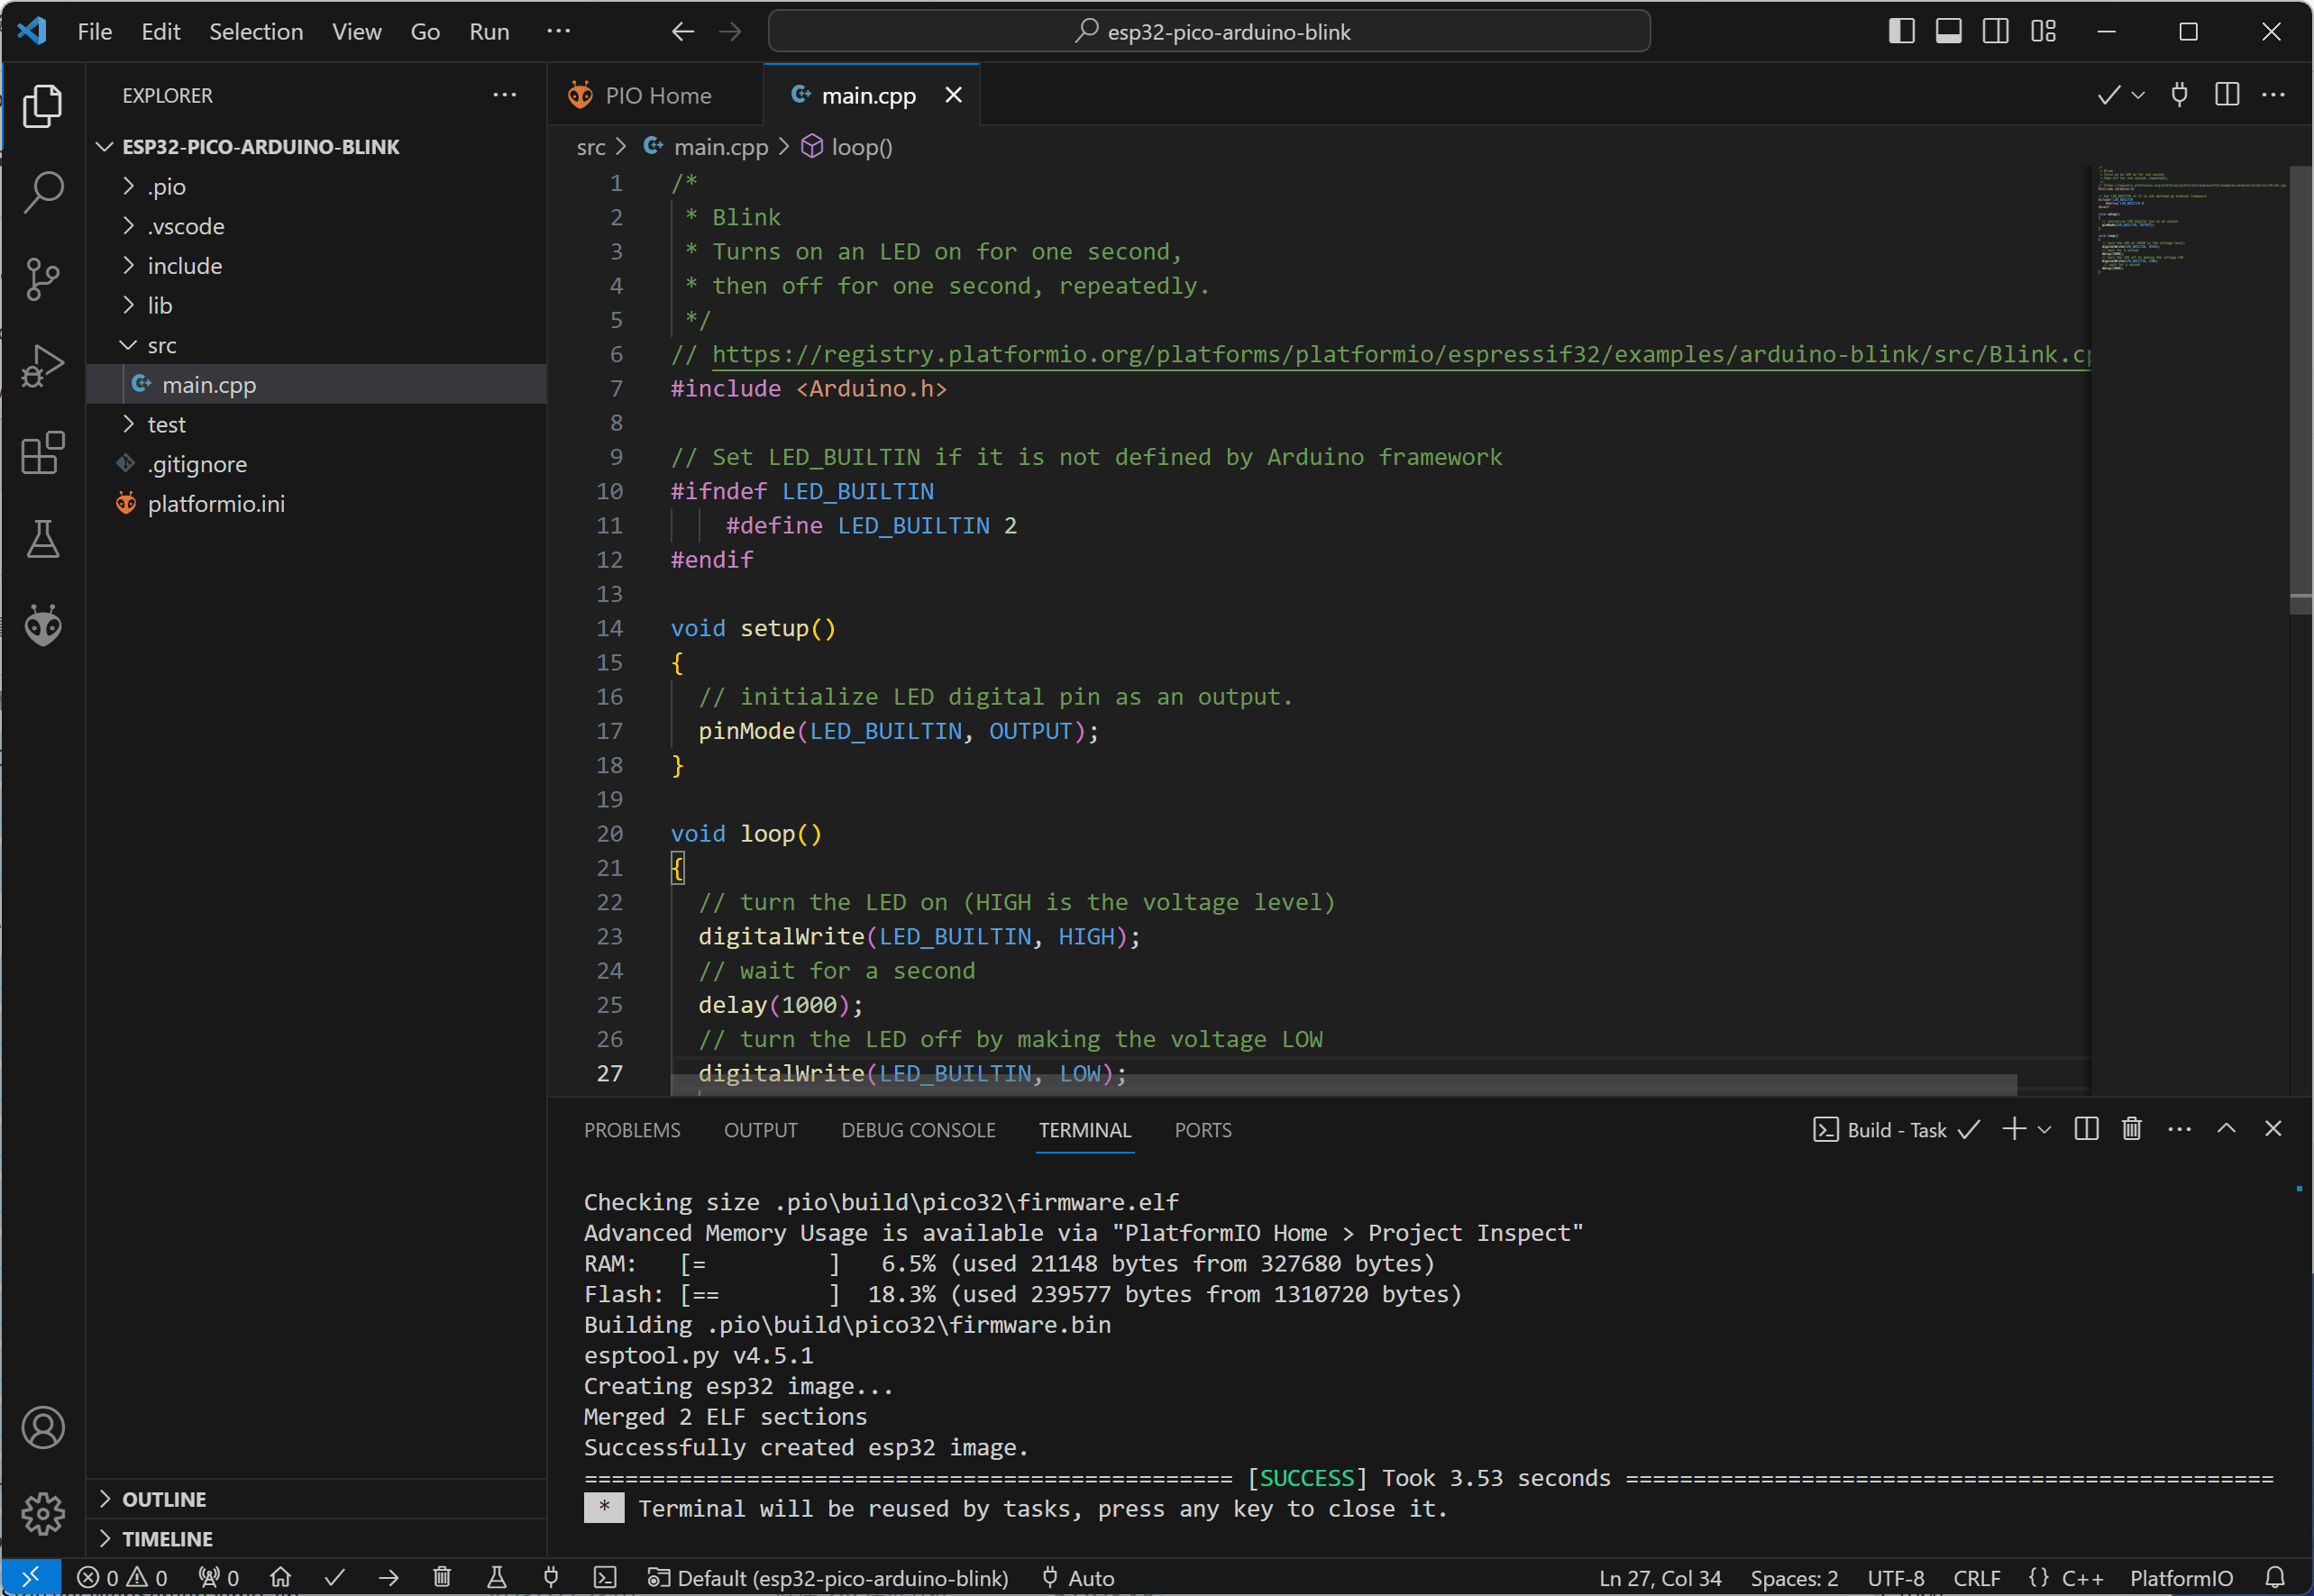
编译成功后,终端显示如下:
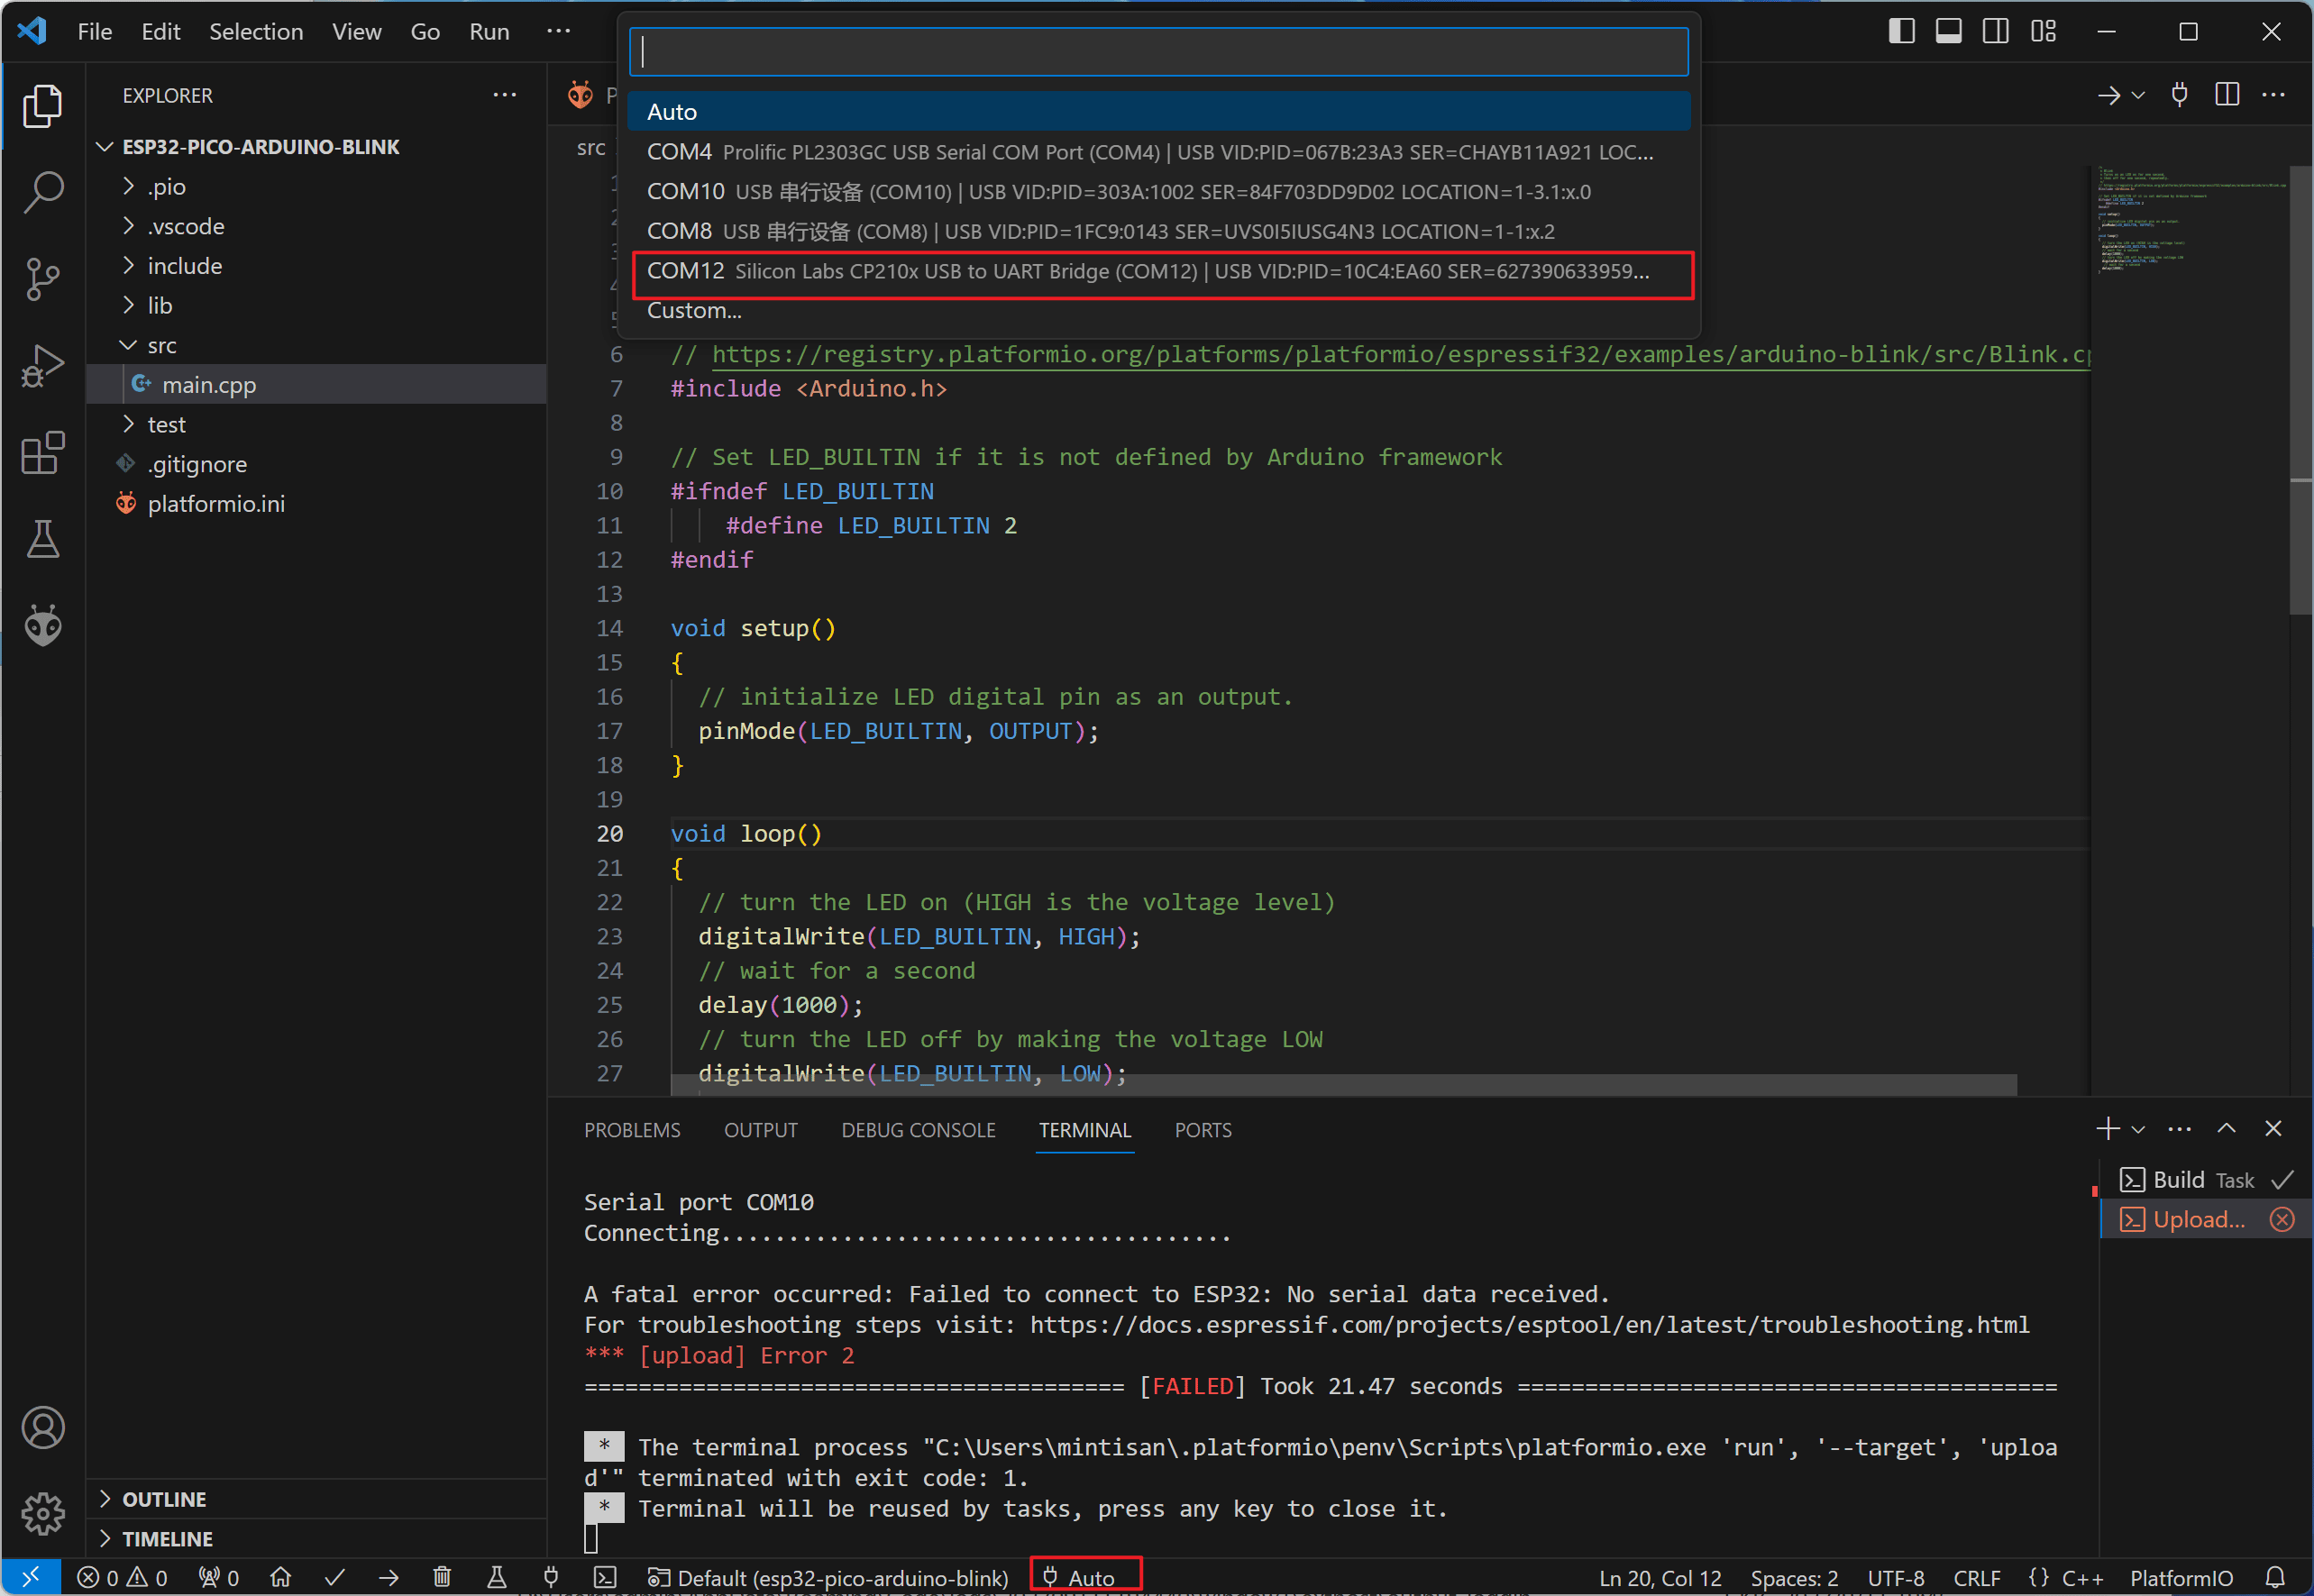
然后再下载到板子,但是有可能默认串口会选择错误,显示错误如下:
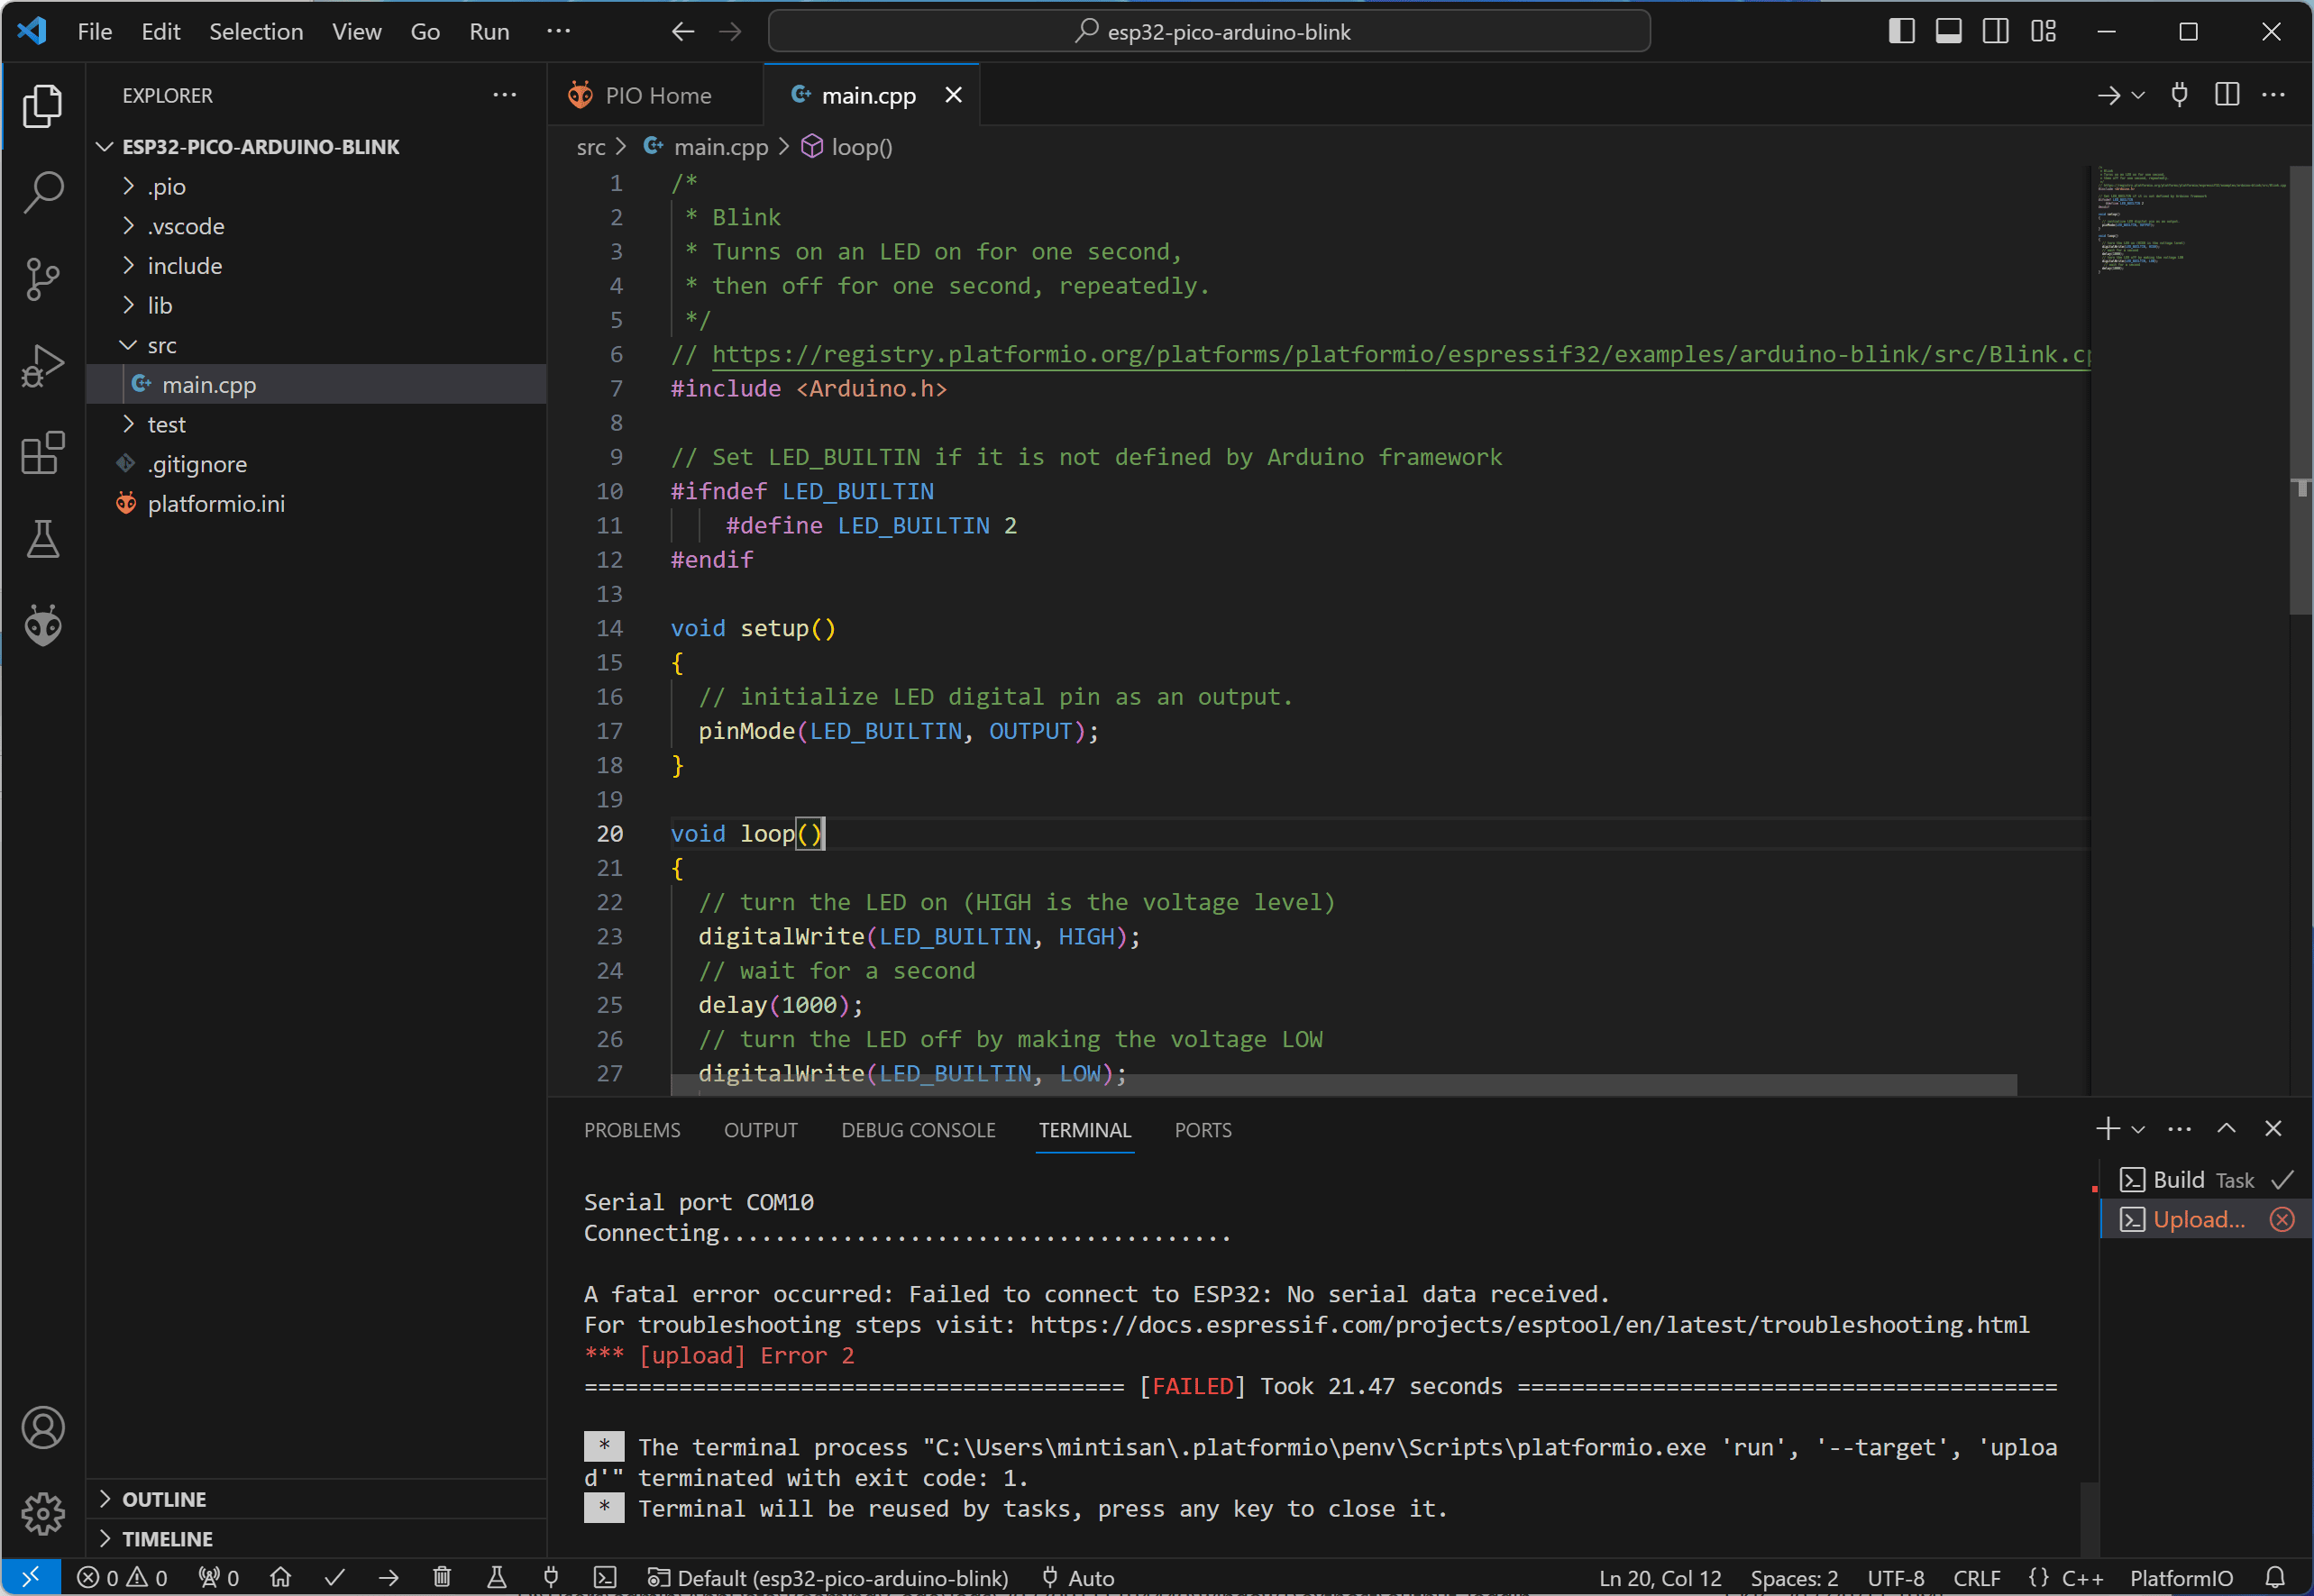
此时,需要点击状态栏的 Auto 后,在顶部选择 Silabs 的那个串口如下:
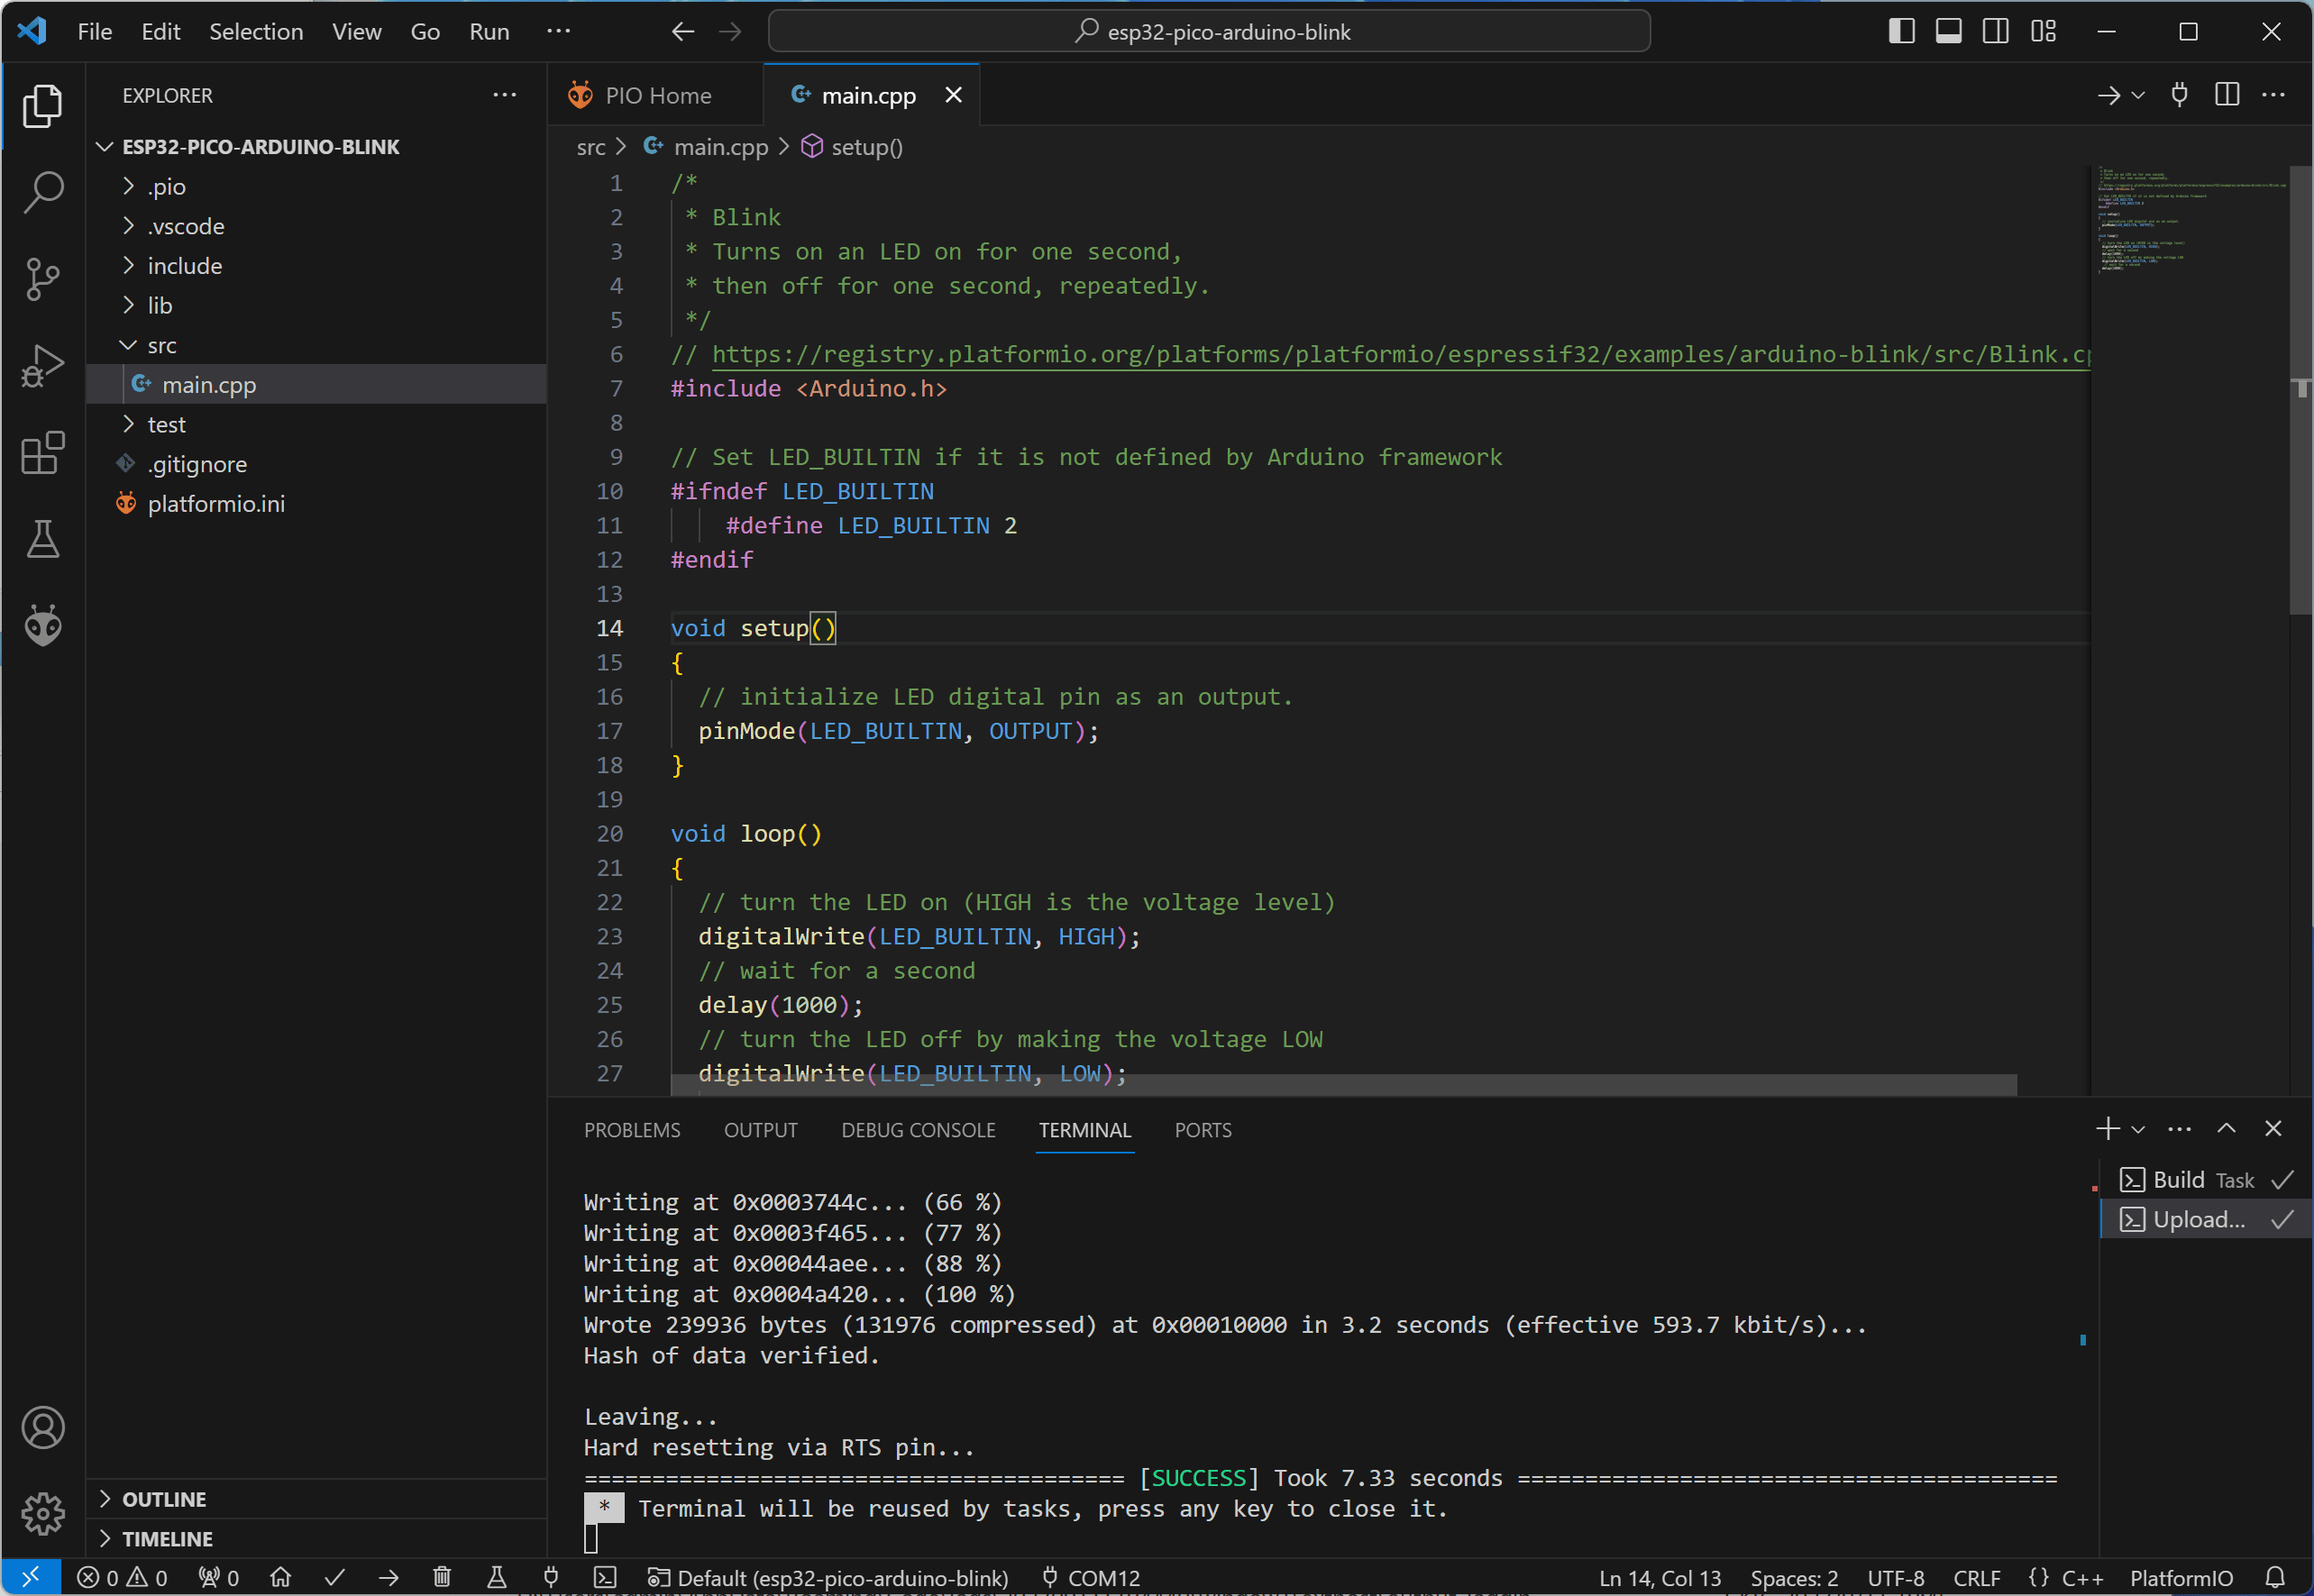
然后再下载,就可以看到如下终端显示的正确日志信息:
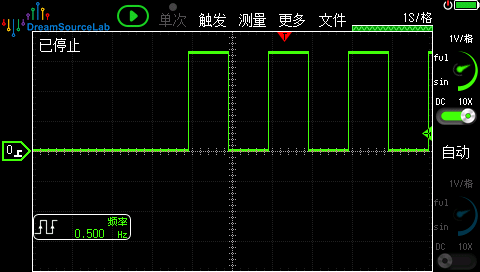
这里的代码采用的 PIN2 ,所以我们直接把示波器接到 GND 和 IO2 上,就可以看到翻转如下:
HTTP Server 测速例程导入
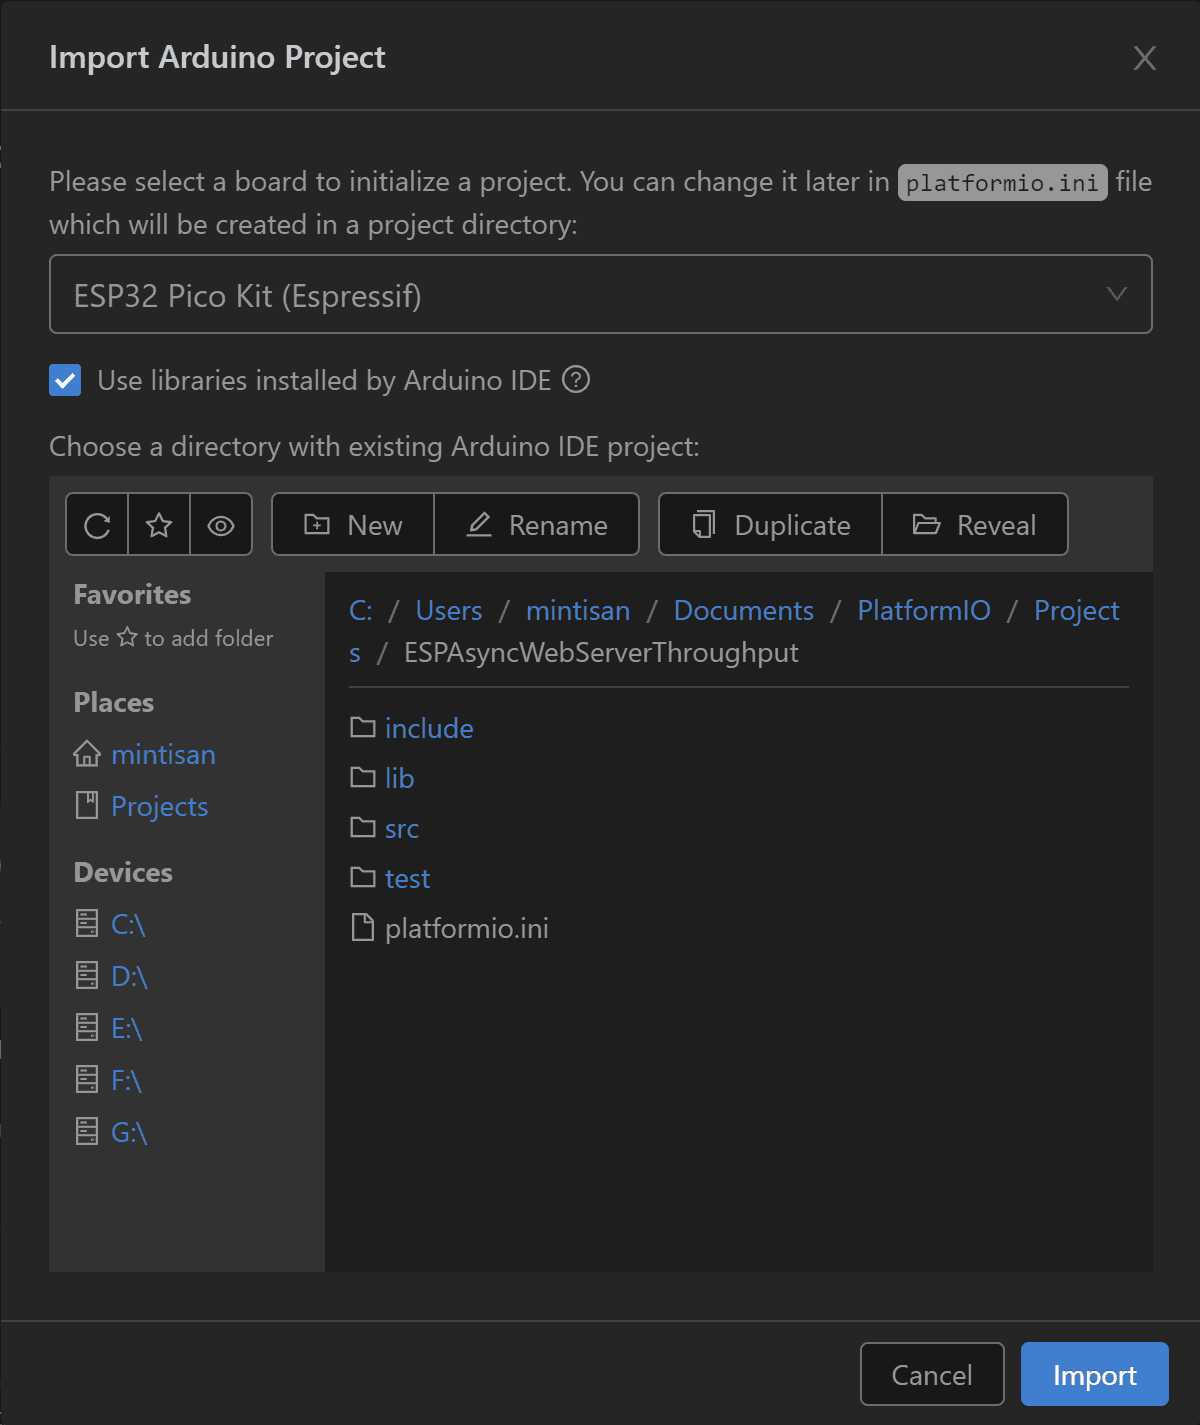
以上是新建一个工程,然后添加代码运行。这里以打开已经有的工程为例,点开选择 Open 打开一个工程目录到 platformio.ini 的目录,再设置完开发板类型,点击确认导入即可。
这里的速率测试代码如下:
#include <WiFi.h>
#include <ESPAsyncWebServer.h>

// 替换为你的 WiFi 名称和密码:mintisan 防火墙会拦截,手机热点可以,VPN也需要关闭
const char* ssid = "Xiaomi13";
const char* password = "1234567890";

AsyncWebServer server(80);

uint32_t downloadStart;
uint32_t totalBytesReceived;

void setup() {
  Serial.begin(9600);

  WiFi.begin(ssid, password);
  while (WiFi.status() != WL_CONNECTED) {
    delay(1000);
    Serial.println("Connecting to WiFi...");
  }

  Serial.println(WiFi.localIP());
  // curl -F "file=@bigfile.bin" http://esp8266_ip_address/upload
  server.on("/upload", HTTP_POST, [](AsyncWebServerRequest *request) {
    request->send(200);
    uint32_t downloadEnd = millis();
    float downloadTime = (downloadEnd - downloadStart) / 1000.0;
    float speed = totalBytesReceived / downloadTime;
    Serial.printf("Download speed: %.2f bytes/s\n", speed);
  }, [](AsyncWebServerRequest *request, String filename, size_t index, uint8_t *data, size_t len, bool final) {
    if(!index){
      downloadStart = millis();
      totalBytesReceived = 0;
    }
    totalBytesReceived += len;
  });

  server.begin();
}

void loop() { }
同样编译烧录后,打开终端的串口显示 ESP32 设备的 IP 地址信息如下[注意波特率匹配!]:
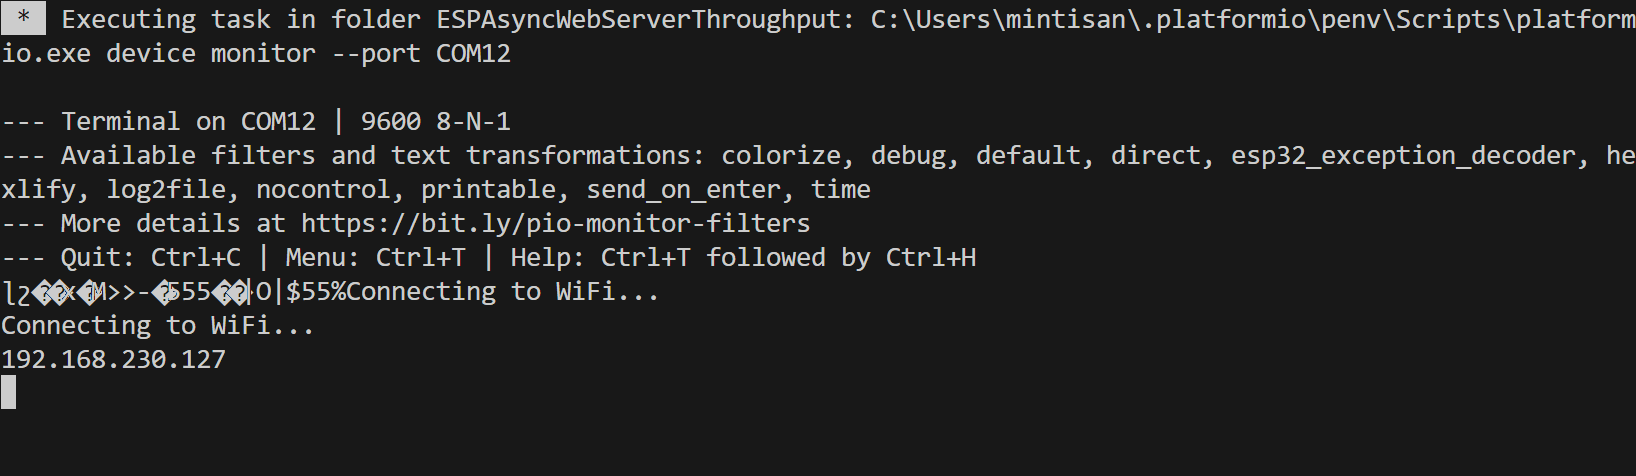
此时在 PC 上打开终端 cmder 【自带 curl 工具】,将本地的不管啥文件上传上去【不要太大,1-2MB 即可】,就可以看到最后我们的 ESP32 Pico 速率是也就 180 kb/s 左右。
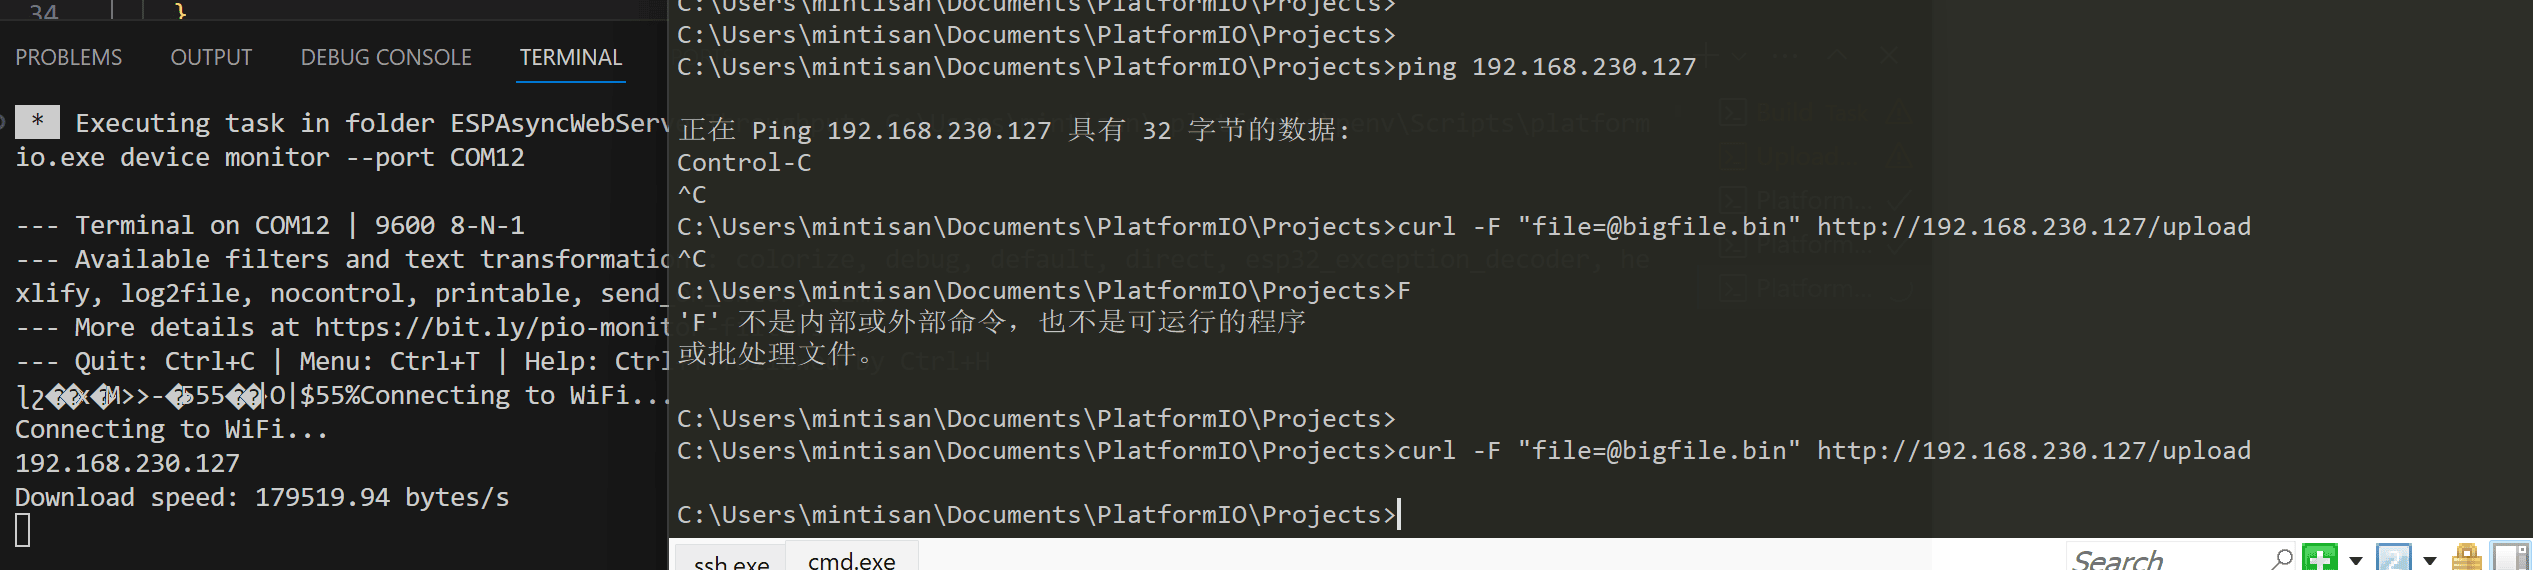
【注:如果开了 VPN,则会超时!!!】
参考以及例程
- https://registry.platformio.org/platforms/platformio/espressif32
- https://docs.platformio.org/en/latest/platforms/espressif32.html
- https://docs.espressif.com/projects/esp-idf/en/stable/esp32/hw-reference/esp32/get-started-pico-kit.html
- https://github.com/platformio/platform-espressif32/
- https://github.com/me-no-dev/ESPAsyncWebServer
- https://registry.platformio.org/libraries/nkolban/ESP32%20BLE%20Arduino
- https://github.com/nkolban/ESP32_BLE_Arduino
- https://github.com/nkolban/esp32-snippets
- https://github.com/espressif/esp-idf
- https://github.com/espressif/esp-idf/tree/master/examples
- https://github.com/espressif/arduino-esp32